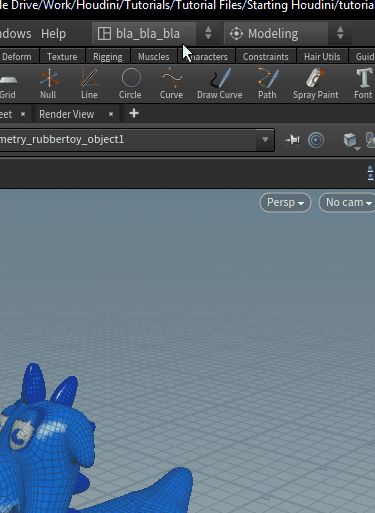
Luckily, Houdini has a free apprentice version which you can download from the website after registration. Download and install the latest version and attempt to boot it. You should see the image below.
On Notebooks that are not totally ancient and run Windows, MacOS or Linux, Houdini works fine. Please update your drivers (especially GPUs) to the latest versions.
If you encounter no problems:
Congratulations! You might still like to see the gifs of this tutorial to learn how to save a layout tailored to your needs.
Overview of problems we have encountered:
Windows
We have had strange problems with actions involving the creation of nodes with Nvidia graphics cards sometimes. If for some reason in the later tutorials Houdini gets stuck with the bottom left message “evaluating python” and your pc has two graphics card, e.g. Intel and Nvidia, try running the Nvidia control panel to specify what GPU to use for Houdini. Focusing on my intel GPU solved the problem for me. Updating Houdini solved the problem permanently.
Mac
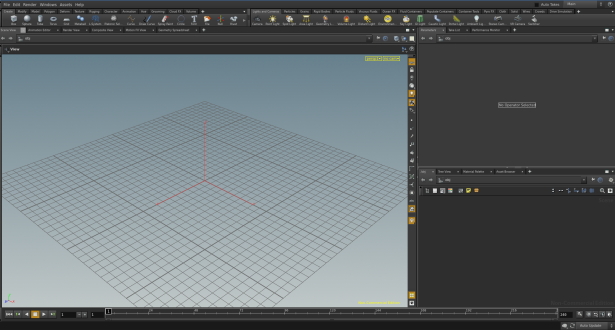
On those Macs that feature a non-Intel graphics chip, Houdini runs excellently. The only problem are Macs with Intel graphics. Here (probably due to the lack of OpenGL 3.0 drivers supplied by Apple) the main interactive viewport switches to software rendering. What follows is a setup that makes it possible to nevertheless do useful work in this situation:
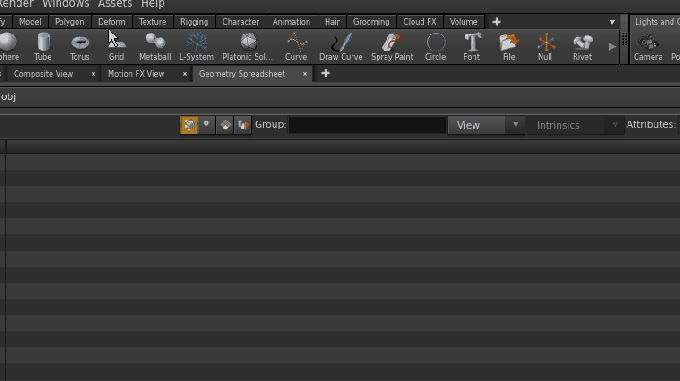
- Delete the panels labeled “Scene View” and “Animation Editor”.

Close the tabs.
- From the “Window” menu choose “New Floating Panel”.
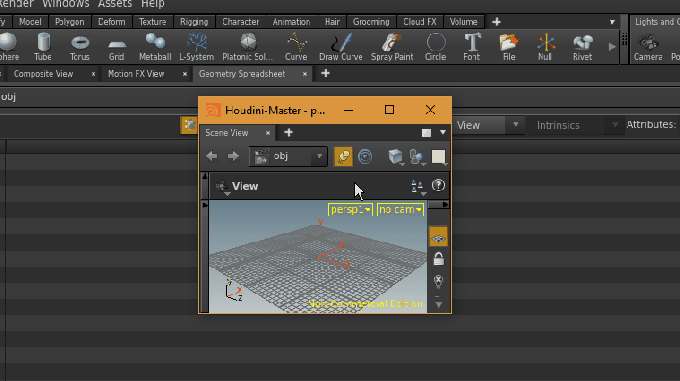
- Make the resulting window quite small.
- Right-click in the upper left corner of this window on the tab labeled “/obj” and choose “Scene View”.
Do as is was said.
- In the upper right corner of the appearing viewport click on “persp1” and choose “Shading -> Wireframe Ghost”.
- Create a test geometry by hitting the “tab” key in the scene and typing test. Click on the scene to place the geometry.
Creating a test geometry.

Now you can create some geometry and hit the render button in the large “Render View” that you see. From now on you should be able to work smoothly in the small Scene View while after a very short time you will see a nicely rendered image appear in the Render View.
This feels like a setup that one get used to. For us mathematicians the main work will happen anyway in the network editor and the control panels of the nodes.
Saving Your Layout
Note that on the top bar you can store your workspace layout. This is an ideal moment to do it. Follow this gif to understand how:
And this is how you load your layouts again: