
Here we explain how to generate geometry procedurally. There are two node types that allow tho do this: Nodes of type Attribute Wrangle allow to specify geometry using the programming language VEX. Nodes of type Python allow to do the same in the Python language. In general you should keep in mind the following: Quite often the same task implemented in VEX leads to a much better performance than the corresponding implementation in python. The reason is that VEX is compiled on the fly in such a way as to exploit all available possibilities for parallelization. On the other hand, Python offers a wealth of numerical libraries. This means that many tasks have to be done in Python, but the standard choice should be VEX.
VEX Code Geometry
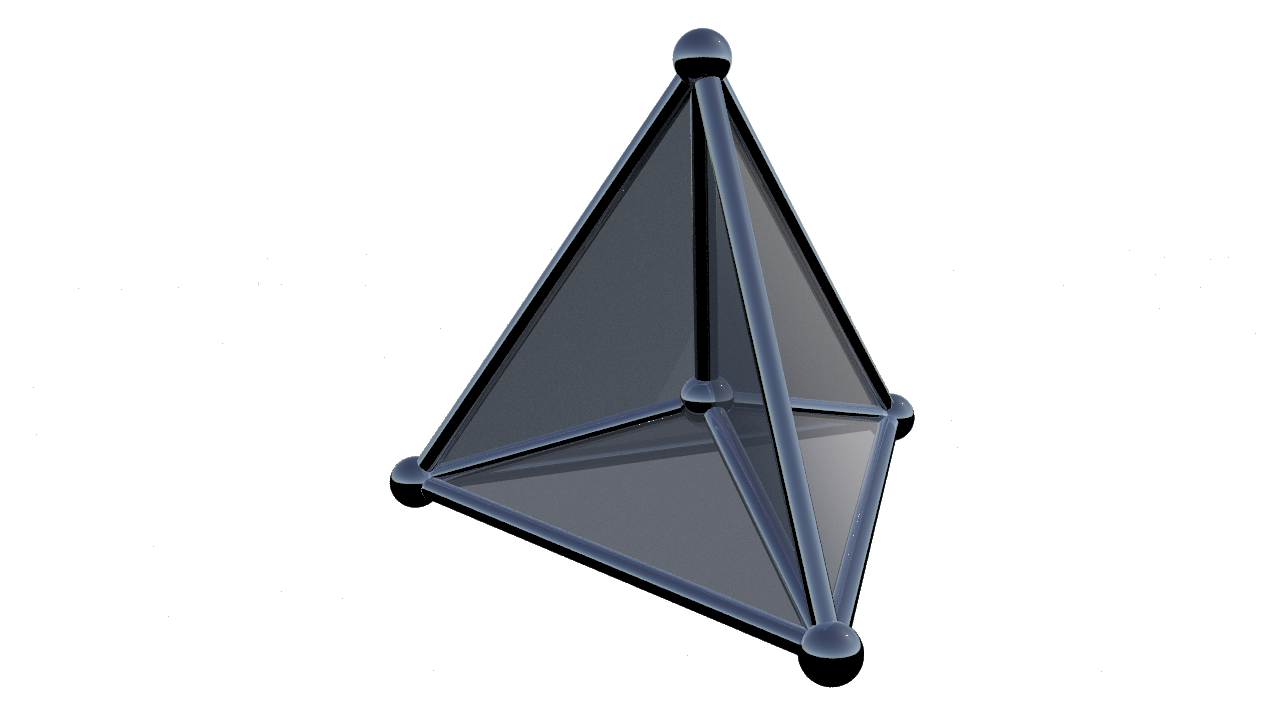
For example we already showed several times a cone over the one-skeleton of a tetrahedron. To create this geometry in Houdini on can use an Attribute Wrangle node and paste into the text field labeled “VEXpression” the following code:
|
1 2 3 4 5 6 7 8 9 10 11 12 13 14 15 16 17 18 19 20 21 22 23 24 25 26 27 28 29 30 31 32 33 |
// VEX code example // this code runs over "detail" (see wrangle parameters) // create a basic geometry // grab index of it's own geometry int geo = geoself(); // add 5 points to that geometry // and remember their indices. int p0 = addpoint(geo,{0,0,0}); int p1 = addpoint(geo,{.5,.5,.5}); int p2 = addpoint(geo,{.5,-.5,-.5}); int p3 = addpoint(geo,{-.5,.5,-.5}); int p4 = addpoint(geo,{-.5,-.5,.5}); // define a function to create triangles int addtriangle(const int g,p,q,r) { // create a polygon index int f = addprim(g,"poly"); // and add vertices to the polygon addvertex(g,f,p); addvertex(g,f,q); addvertex(g,f,r); return f; } // add the 6 triangles addtriangle(geo,p0,p1,p2); addtriangle(geo,p0,p1,p3); addtriangle(geo,p0,p1,p4); addtriangle(geo,p0,p2,p3); addtriangle(geo,p0,p2,p4); addtriangle(geo,p0,p3,p4); |


Here you also see how to define custom functions in VEX. For a general introduction to VEX we refer to the documentation. The same task could also be accomplished with a Python node. The necessary Python code looks as follows:
|
1 2 3 4 5 6 7 8 9 10 11 12 13 14 15 16 17 18 19 20 21 22 23 24 25 26 27 28 29 30 31 32 33 34 35 36 37 |
# Python node example # all python code runs only once # create a basic geometry # grab self geometry index node = hou.pwd() geo = node.geometry() # create 4 points and remember their names p0 = geo.createPoint() p1 = geo.createPoint() p2 = geo.createPoint() p3 = geo.createPoint() p4 = geo.createPoint() # edit their position values p0.setPosition((0,0,0)) p1.setPosition((.5,.5,.5)) p2.setPosition((.5,-.5,-.5)) p3.setPosition((-.5,.5,-.5)) p4.setPosition((-.5,-.5,.5)) # define a funciton to create triangels def addTriangle(p,q,r): # create polygon of 3 corners f = geo.createPolygon() f.addVertex(p) f.addVertex(q) f.addVertex(r) # create triangles inbetween the points addTriangle(p0,p1,p2) addTriangle(p0,p1,p3) addTriangle(p0,p1,p4) addTriangle(p0,p2,p3) addTriangle(p0,p2,p4) addTriangle(p0,p3,p4) |
Interactive Parameters
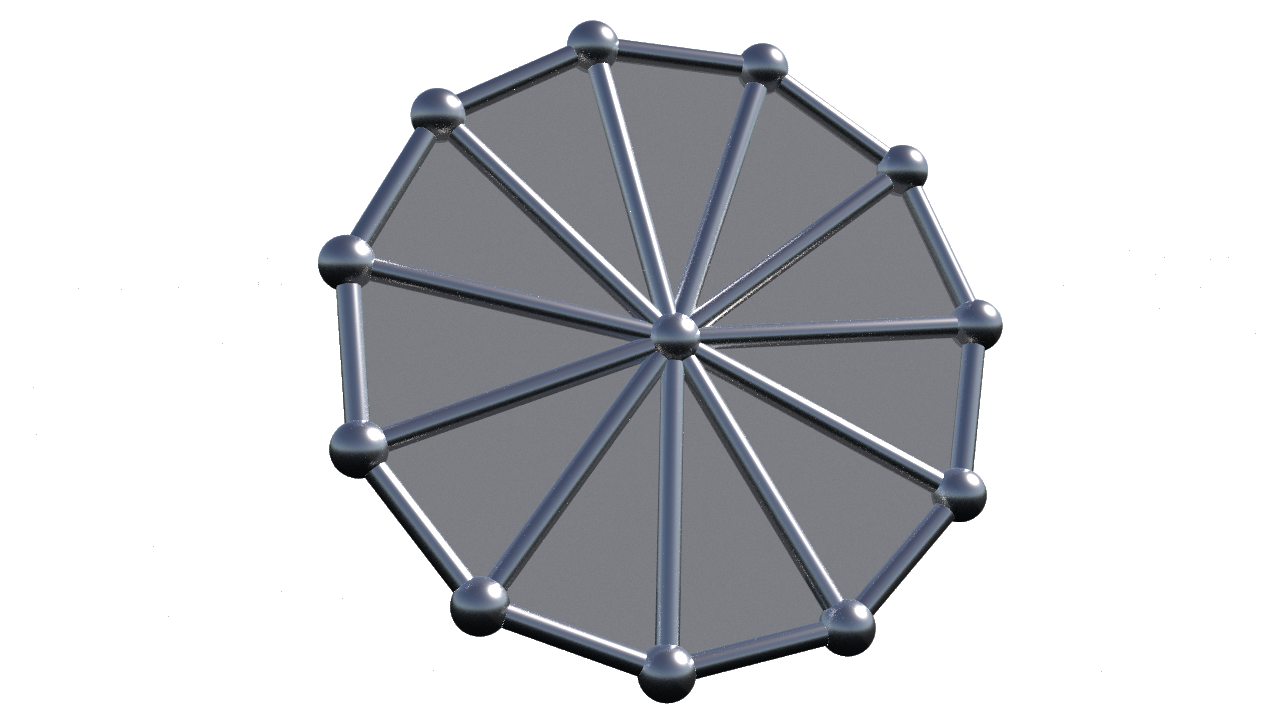
It is also possible to add interactive parameters to nodes. As an example we create a wheel with a variable number of spokes: Create a node of type Attribute Wrangle. Add a parameter of type float named numSpokes with label “number of spokes” to the node (see the documentation for the details how to do this). The needed VEX code is the following:
|
1 2 3 4 5 6 7 8 9 10 11 12 13 14 15 16 17 18 19 20 21 22 23 24 25 26 27 28 29 30 31 32 33 34 |
#include "math.h" //create polygon with n spokes connected to the center // "ch" will read variables from addresses such as // the local variables int n = int(ch("numSpokes")); // create center int centerP = addpoint(geoself(),{0,0,0}); // create first point and loop point reference int currentP,lastP; int firstP = addpoint(geoself(),{1,0,0}); lastP = firstP; // create spokes inside the loop for (int k=1; k<n; k++) { // create next point float t = 2*PI*k/n; currentP = addpoint(geoself(),set(cos(t),sin(t),0)); // add triangle int f = addprim(geoself(),"poly"); addvertex(geoself(),f,centerP); addvertex(geoself(),f,currentP); addvertex(geoself(),f,lastP); // move on with loop reference lastP = currentP; } // close the loop int f = addprim(geoself(),"poly"); addvertex(geoself(),f,centerP); addvertex(geoself(),f,firstP); addvertex(geoself(),f,lastP); |


And never forget, if you are ever in need of a vex function that you try to find it in here http://www.sidefx.com/docs/houdini/vex/functions/_index.
written by Pinkall/Padilla 2016/17
