
In this tutorial we will continue where we left of in the previous tutorial.
Before rendering it is always convenient to create a dedicated camera for this purpose. You do this by choosing New Camera from the yellow menu in the upper right corner of the Scene View.
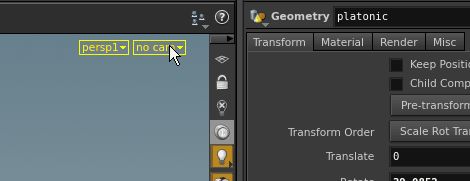
After this, you will see a rectangular region in the Scene View that shows the scene as seen by this camera. If you want to change the perspective of this camera, you can highlight the lock icon on top of the vertical tool bar on the right of the Scene View. If afterwards you unlock the view again you can look around freely without messing up the camera meant for rendering. You can switch the Scene View back to this camera by selecting its name (often something like “cam1”) it the mentioned yellow menu.
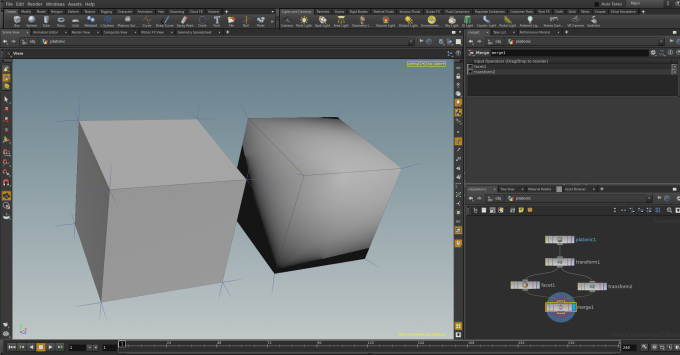
You can have as many cameras as you like. They will show up as nodes on the top level of the network, next to the Geometry node that you initially created.
Now switch from the Scene View to the Render View. You can do this by selecting the appropriate tab at the top of the scene view window. You will see the scene through the eyes of the camera selected in the ROP Camera menu above the scene view.

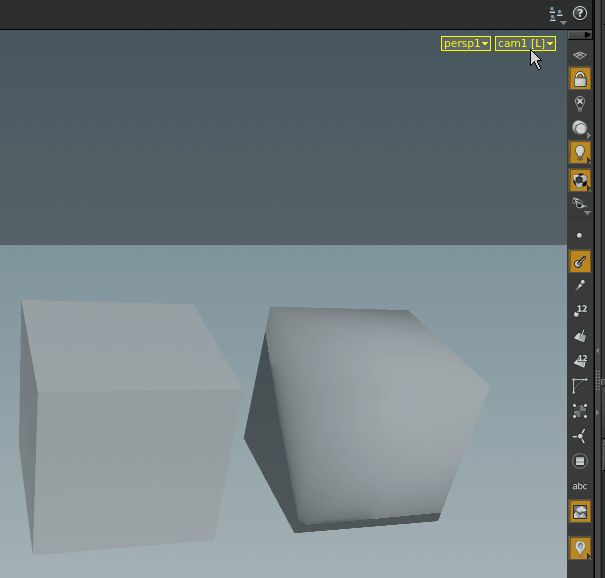
For example, the scene from the last post looks like this:
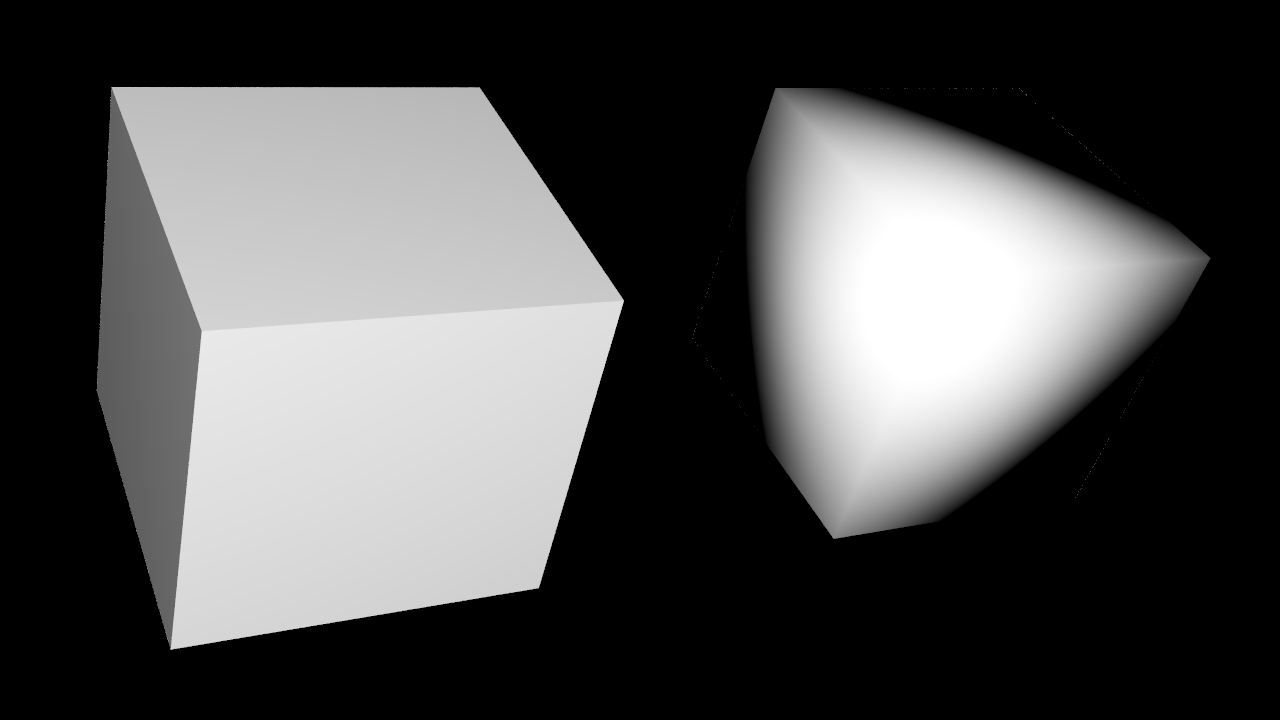
Why do we see a black background? In fact, in reality the background is not black but transparent. You can see this if you save the image (using the context menu available on the Render View, right mouse button) in a format like png that supports transparency.
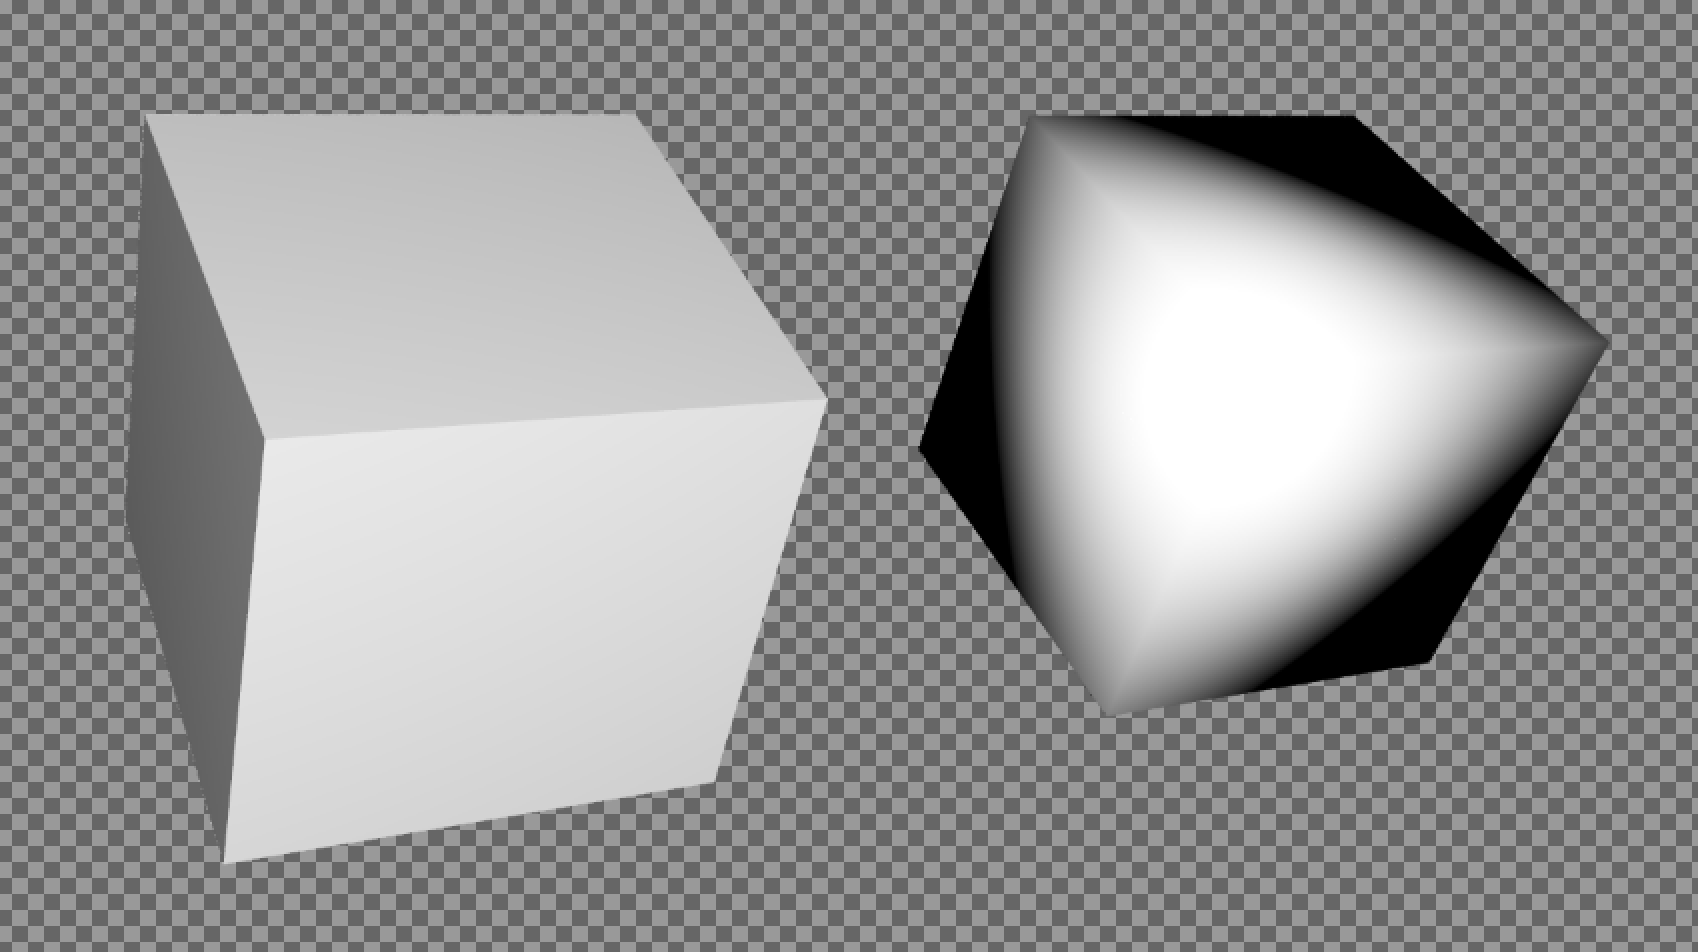
If you open the saved image in image software like GIMP you will see the transparency:
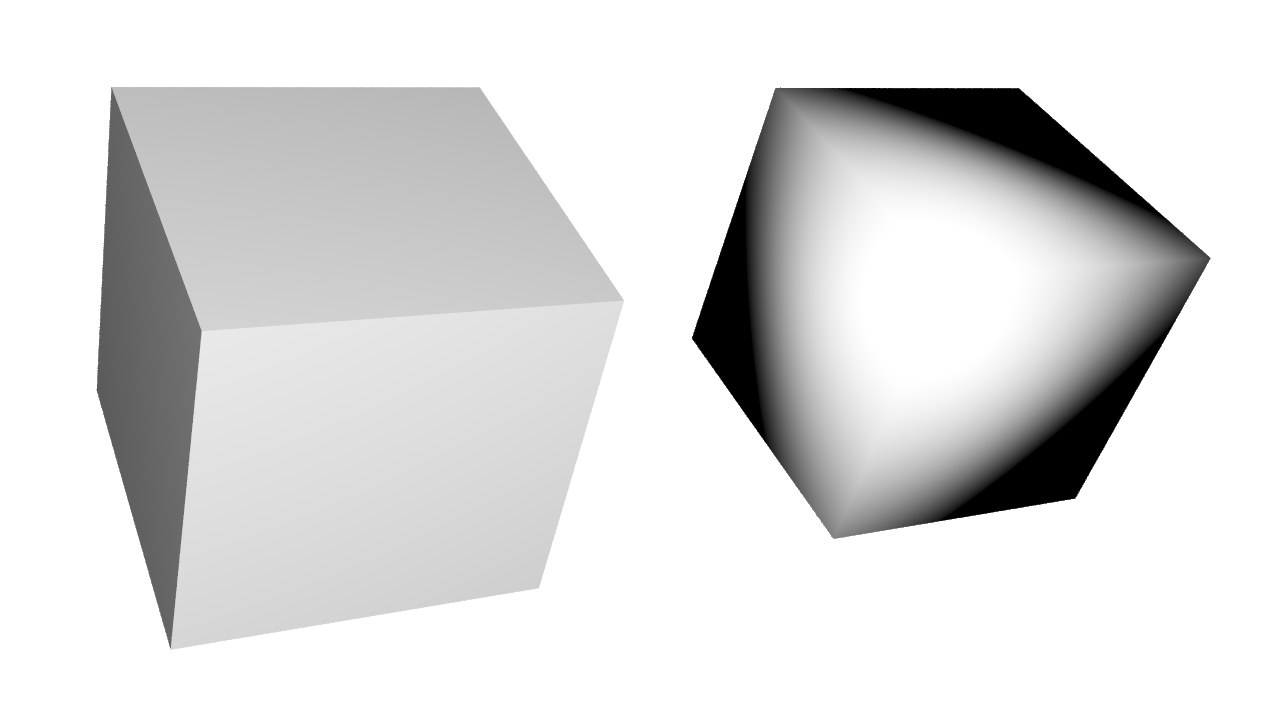
The same image loaded in a web browser will feature the background color of the current browser page:
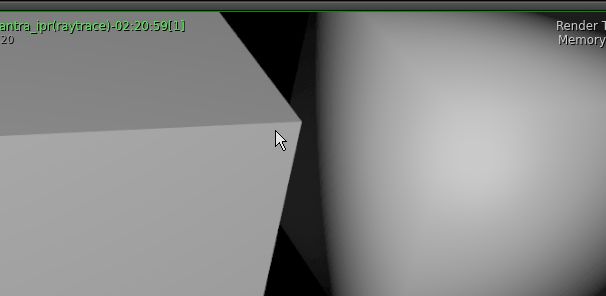
Obviously it seems desirable to see the rendered image in front of the envisaged background also in the Render View. To this end, click on the vertical rectangle on the right of the Render View to exhibit its tool bar. The uppermost icon in this toolbar gives access to the Display Options of the Render View. This pop up window has a tab called “Background” where you can change the background color from (0,0,0) to (1,1,1). In order for this change to have effect we also have to highlight the icon on the Scene View toolbar that is labelled “Toggle Transparency”.

Note that if you save your image in a format like JPEG that does not support transparency, you will always see a black background on the image. The background of the Render View only affects the preview. We strongly recommend saving your images with transparency, also if they are meant for videos. In this way you maintain full flexibility concerning the background that you finally will use.
written by Pinkall 2016
