

In this tutorial we will demonstrate with an example how we can store computed results to disk and then reload them again afterwards in order to save time.
When creating a neat video or images to demonstrate your neat results we always perform two steps: computations and rendering.
Computations: handle the non graphical part of the scene. For instance the flow of a fluid or the execution of any algorithm. Some heavy computations can take days.
Rendering: Handles the image creation. The scene view is just a light version of what is to be rendered and the rendered version can sometimes contain different details compared to what you used in the scene view for designing purposes. HD renders with tons of lighting and special effects might be simple to see in the scene view but take a lot of time to render. Shadows and reflections especially can be hideous when it come to rendering.
Until now (as seen in the exporting video tutorial) we have always computed and rendered in one go and only stored the final render product. Now we will learn how to separate computations to avoid having to repeat them for rendering purposes.
More importantly, this will allow us to separate stages of our computations. With big projects you might have to deal with a heavy pre-processing step that costs a lot of time, electricity and your nerves. In that case you should export the pre-processing result to disc and then reimport it at the next step.
Guided Example
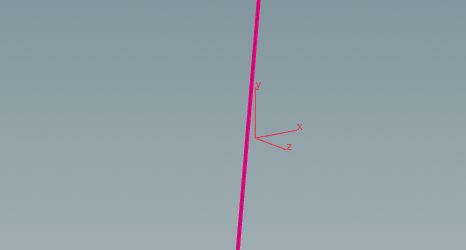
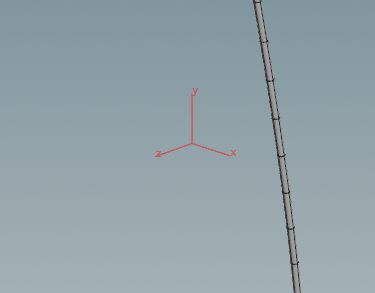
Let’s start with the (super boring) output of our solver node tutorial. The output is a curve and we will proceed to store the curve that is computed frame by frame and then load it again to manipulated it a little.

Storing
Next we will direct the output into a ROP Output Driver node.

The ROP Output Driver node has similarities to the mantra render node since you also specify a frame range to the store the results to disc. Now you can use the node to store 100 Frames of our Code to disc (hard drive).

Then you wait for the computations to finish…
And then you should see these kind of files in the file system:

You will find these files withing your working directory by default. One for each frame since we have a frame dependant solver node. If your output is not time dependant, then you should only create one output and not a frame range of outputs.
Loading Stored Files
Loading the stored files will be straight forward. Just place a file node and select one of the above files to open.

And that’s it! Now you can continue from the file node and usually as if you where working with the output node. In our example we take the output and bend it a little. If we hit play to display the frames we will load each separate file from the computations consecutively.

If you want to learn more about this topic have a read on this page.
