We are going to see how to add a texture with transparency to your surfaces. This is effectively a tutorial about editing materials. We will explain how to create an image as the following one:

Textures
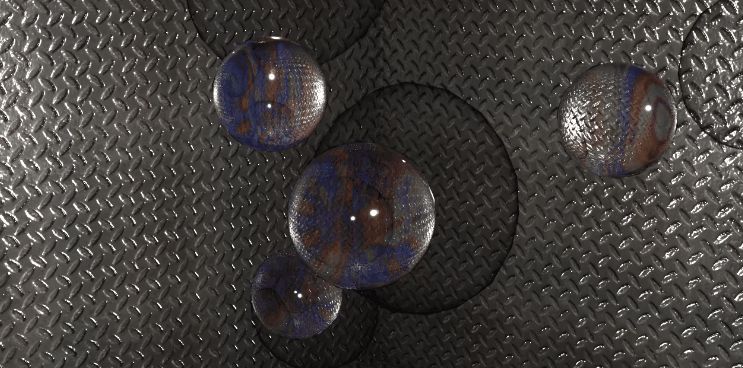
You might have had to deal with minimal surfaces before, and for that purpose we will try to create soap bubbles. We will want to project the following soap film texture on to the surface:

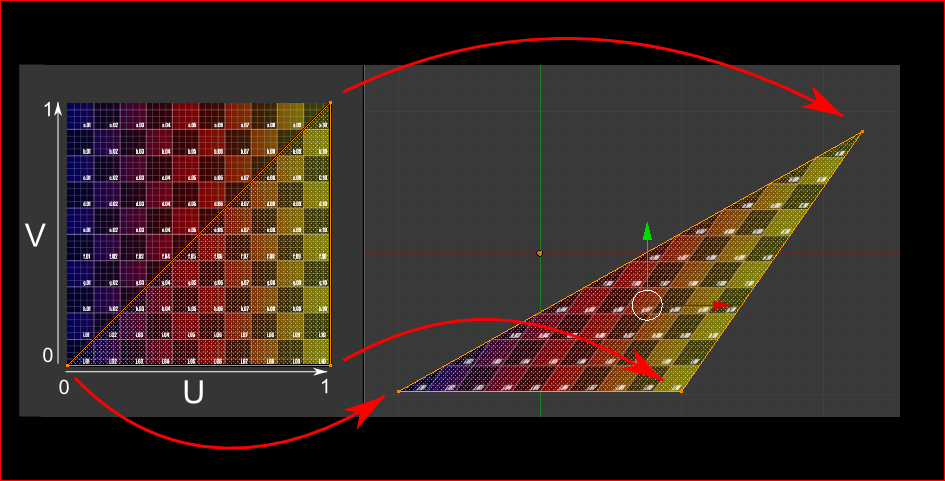
Textures are usually mapped to triangles by specifying the uv coordinates at each point. You can imagine uv coodinates to be a 2 dimensional vector attribute of a point that locates the vertex color by pointing at the coordinates inside a square texture image matrix. The triangle in between the vertices will then receive the image enclosed by the uv coordinates. See the image below to understand this.
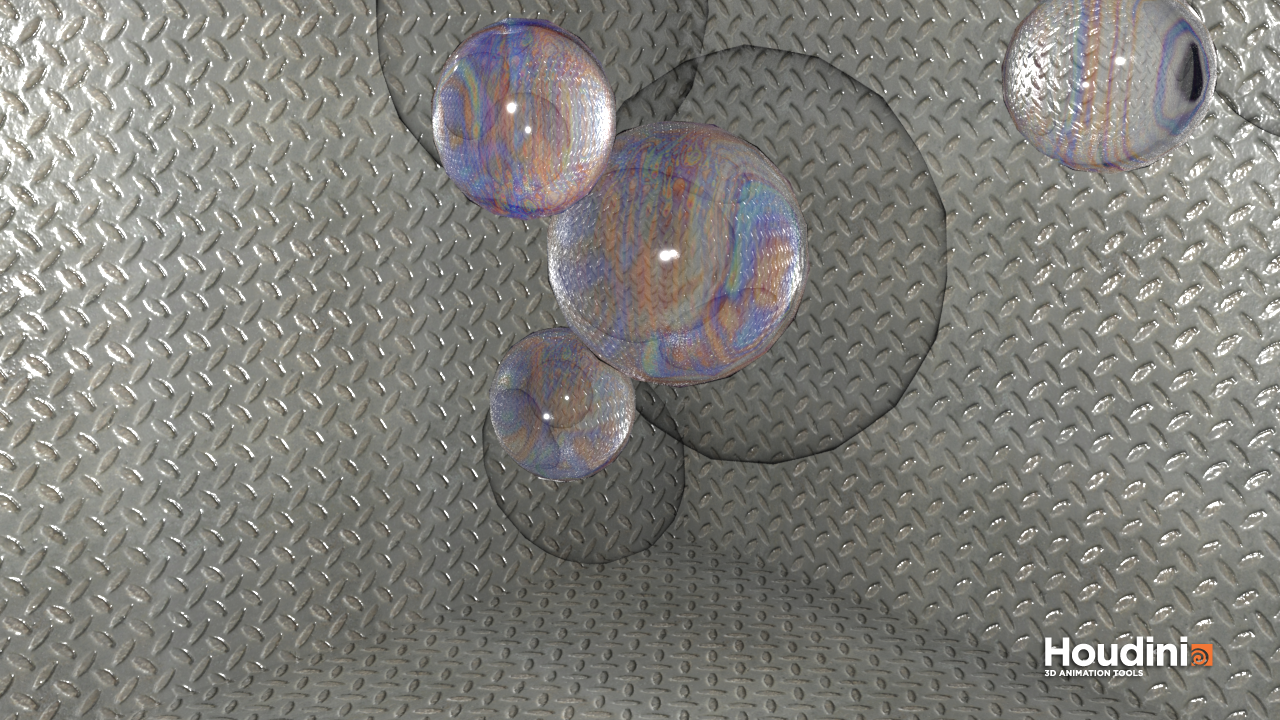
Bubble Set Up
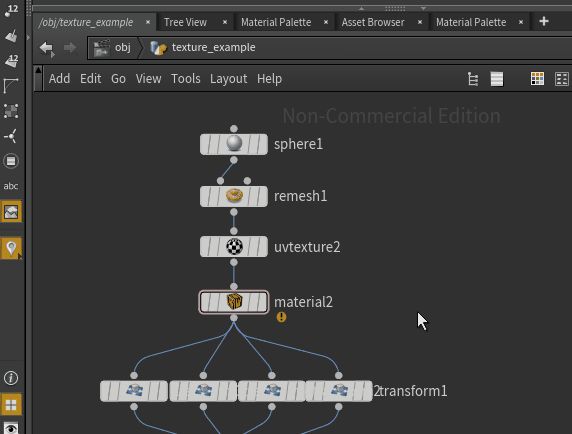
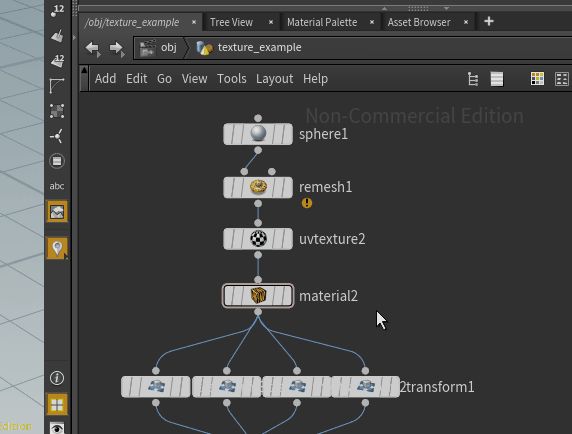
Lets take some spherical geometries to apply the texture to. Here we took one sphere and create many transformations from it together with the $F parameter to animate the transformations. We have also added a point light at the upper most layer of the network for later shadows. You can move the light using a transform node or directly in the scene view.
Don’t forget to add a remesh node to the sphere in order to break the primitive down to an actually vertex representation fo the sphere to use textures on. Luckily, we don’t have to manually input each uv coordinate. Just throw a uvtexture node at the geometry and add a material node right after it.
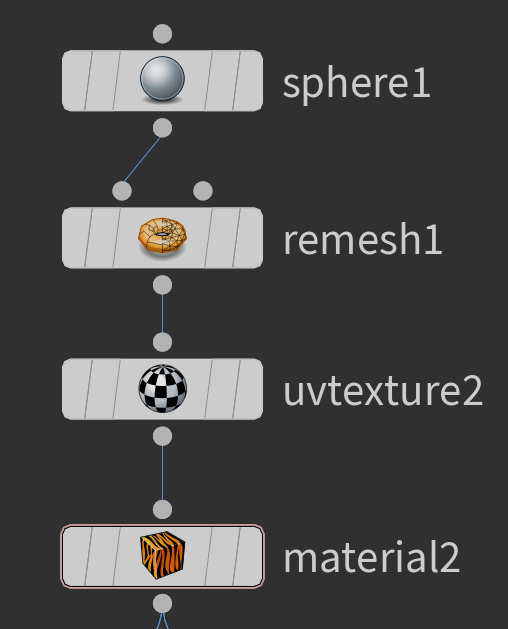
In order to get many copies of the sphere you can use many transform nodes.


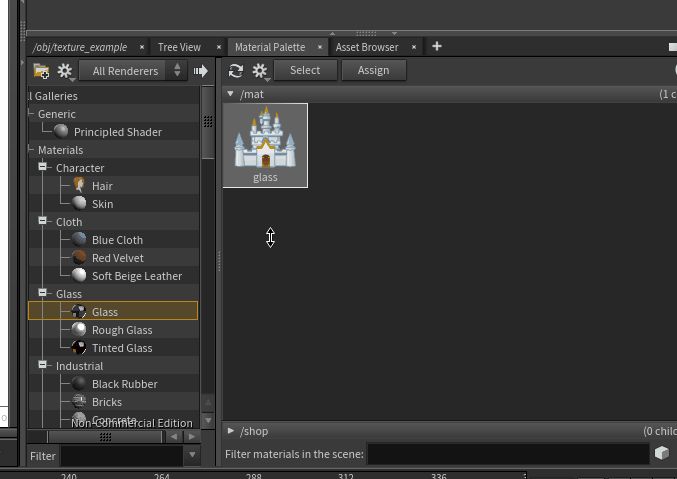
Material Edit
Now that everything is set up we can make soap bubbles real by downloading the soap film texture (or use any image you want). Then go to the material pallet and add the glass material by loading it into the scene as seen in the gif below.
Then specify the material of the sphere to be glass.
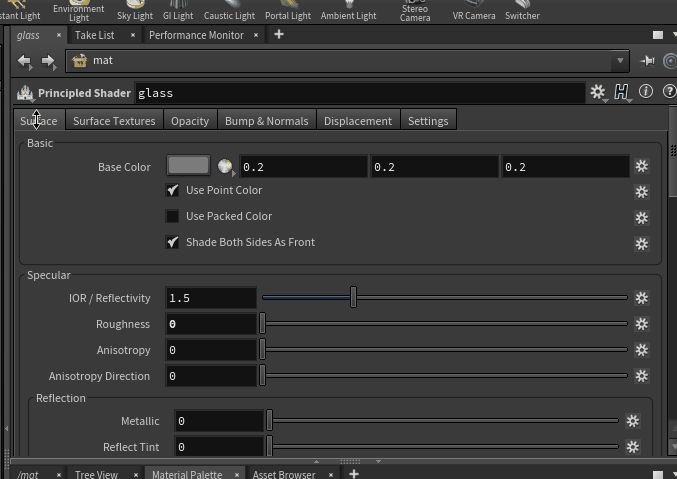
We can now edit the material properties of the glass and add texture to it. Note that this is the gateway for millions of adjustments that all change the appearance of the surfaces. We chose to start with the glass material as it needs the fewest modifications for a soap bubble effect. We will want to edit three things:
- Adjust surface transparency to 0.8.
- Select soap film texture .jpg as base surface texture.
- Enable opacity fake caustics (for bubble shadows).
That is it. Each soap bubble should now look nice when rendered.
Optional: Background with Normal Textures
Lets bring in something nice to better see the light effects the bubble has. We are going to construct a room for the bubbles.

To do this we will start of with a small 2×2 grid element and and add uv coordinates to it. After the uv coordinates we copy and transform the grid using a copy and transform node. This way the uv coordinates are copied as well.


And you repeat this with another copy transform node to translate in another direction.

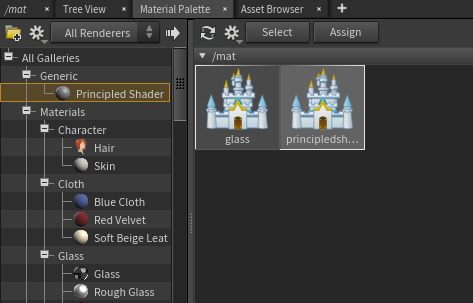
The good thing is that now we have the uv coordinates in such a way that our texture will be copied into each square. Lets make a new material to hold our texture. Go to the material pallet and load the Principled Shader into the scene.
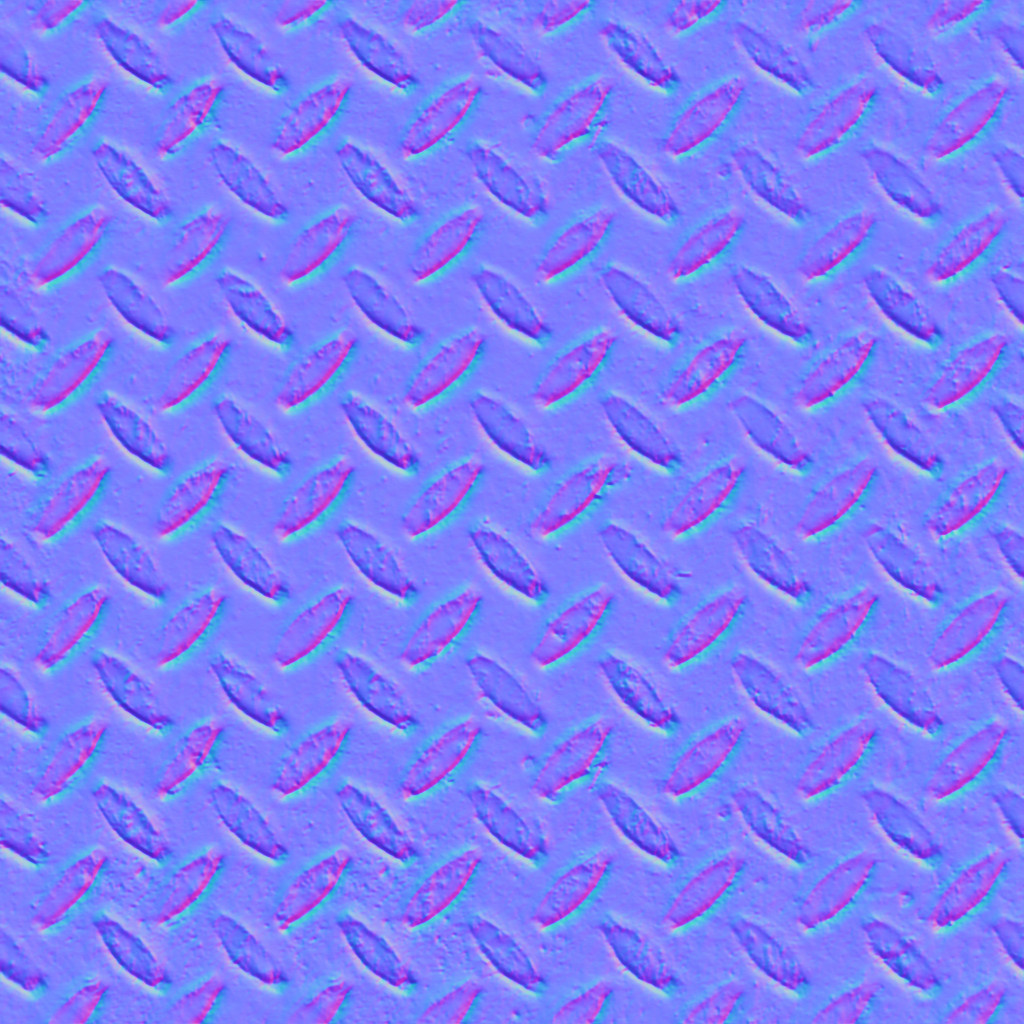
Then download a suitable periodic texture and use it for the surface. We will however present you a sweet effect using normal textures. Normal textures encode the surface normal as RGB values in the texture. This way the renderer can accurately show high detailed light reflections even though the surface is flat. You can grab a bunch of free textures with normal mappings here. We will use the following ones.

When editing the new material, you will add the image texture as before and the normal texture under the Bumps & Normals tab.

Next you can copy and rotate the grids to create a room. We will also display the render without normal textures just for comparison:

With normal texture we get a much nicer result:
Spherical textures
Another great example is the texturing of the sphere. As you know, there is no bijective mapping from the sphere to the plane, but nevertheless if a world map is created knowingly that it will be mapped to the sphere it can be made to apear seamless.

The earth material we create is just a principle shader (default material) with an earth texture. We then compute the UV textures with the uv texture node using the “Polar Coordinates” option and also check the box to make them apear seamless.


Like normal textures, we can also add a bump texture to highlight the mountains.


To see how spherical textures are mapped we display another example using a grid.


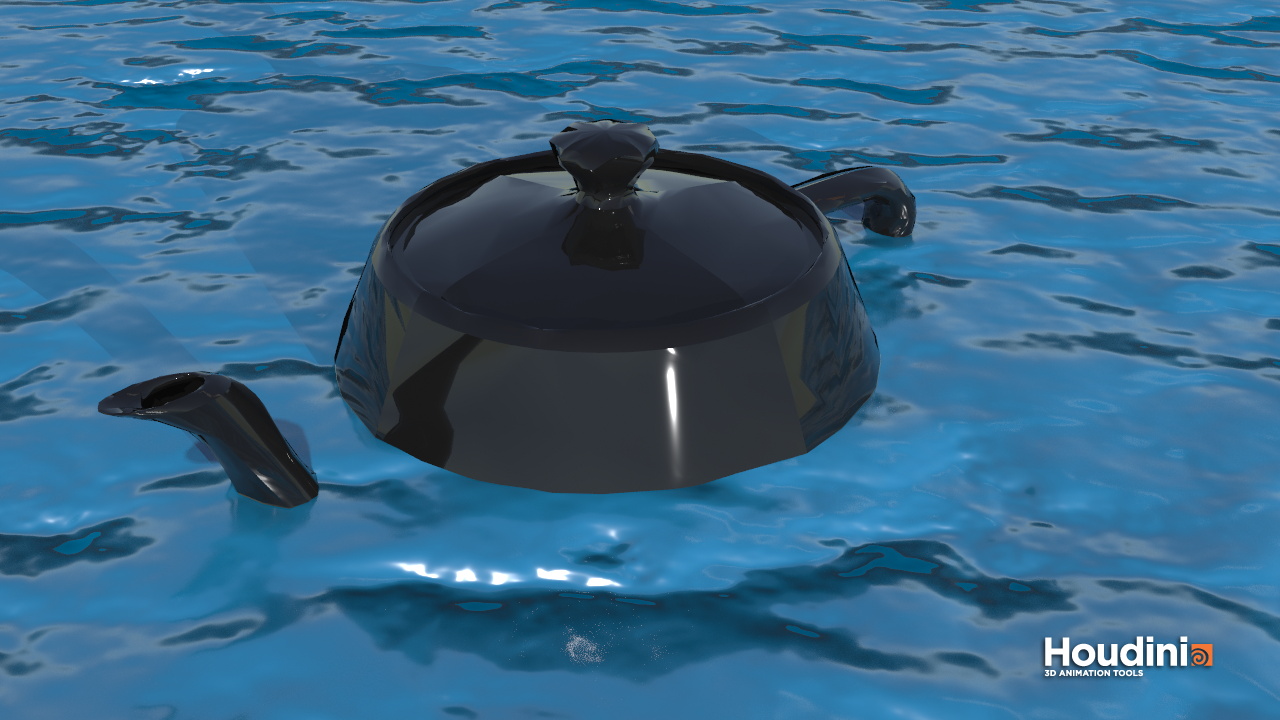
Extra: Fake Water
Another trick with normal maps is to place them on blue flat surfaces to make them appear as water (very cheap effect, but at times, that is enough and it is very little effort for the computer and you).

Here is an example of a pianolacquer teapot in the water we just created. Note that the skylight node really helps making the scene pretty with light.