
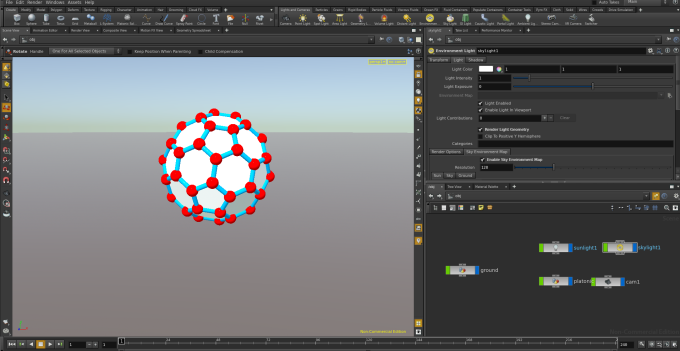
We start from where we left of in the previous tutorial on ambient light.
In a scientific context a very common task is to prepare figures for manuscripts. In most cases the objects in the foreground are the sole focus of attention, and in such cases it is desirable that the figure should blend naturally with the surrounding page. This means that often the goal is to have a white background. Nevertheless, shadows are frequently included in order to give at least a minimal sense of spatial orientation.
Let us illustrate how to achieve this by starting with the scene from the last post. First we turn off Render Light Geometry in the Light tab of the Sky Light. This has no effect in the Scene View but in the Render view the sky turns white (at least if you adjust the Display Options of the Render view as explained in a previous post):

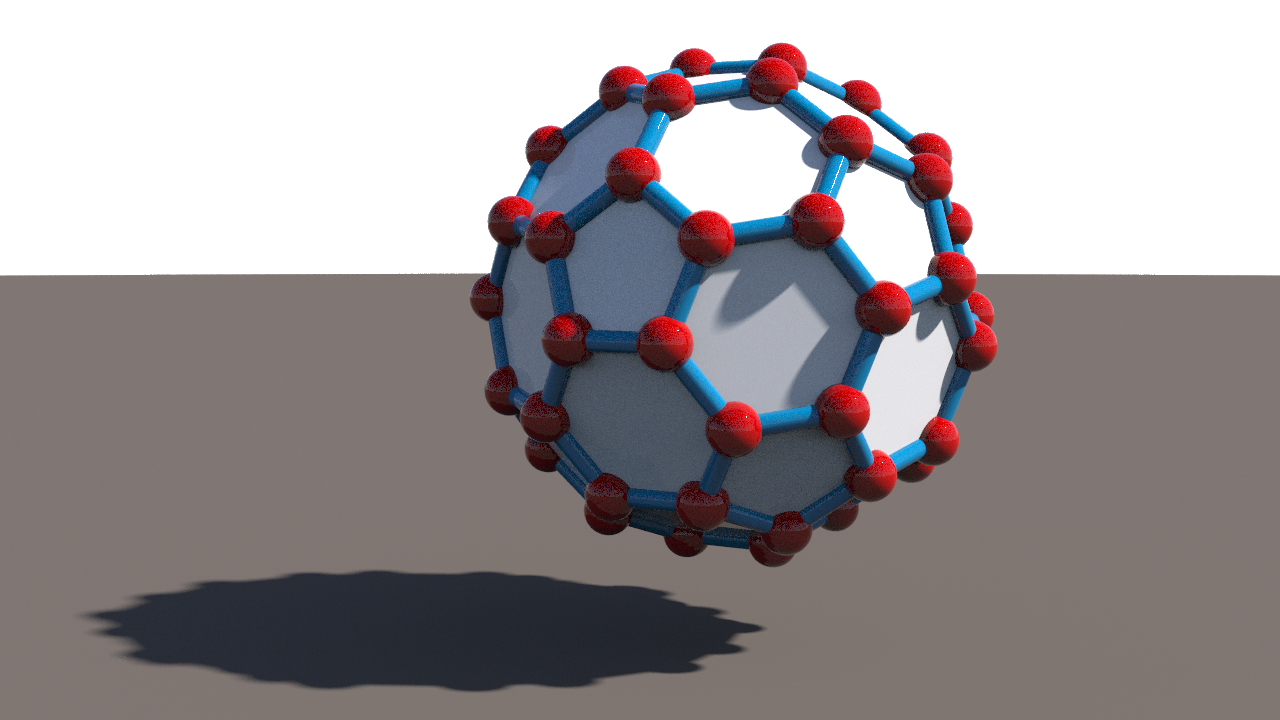
Giving the ground a white material probably would not make it completely white. To make the ground white we in fact will use a marvelous material called “Shadow Matte”.

An object made of this material (assuming we use the default settings) will cast shadows on other objects but will be rendered as transparent portions of the image, so when composed onto another image (or a white page) the background will shine through at the places where the object is visible. Most importantly, shadows on the object will be accumulated as opaqueness (of a color that depends on the corresponding light color). Here is the result:
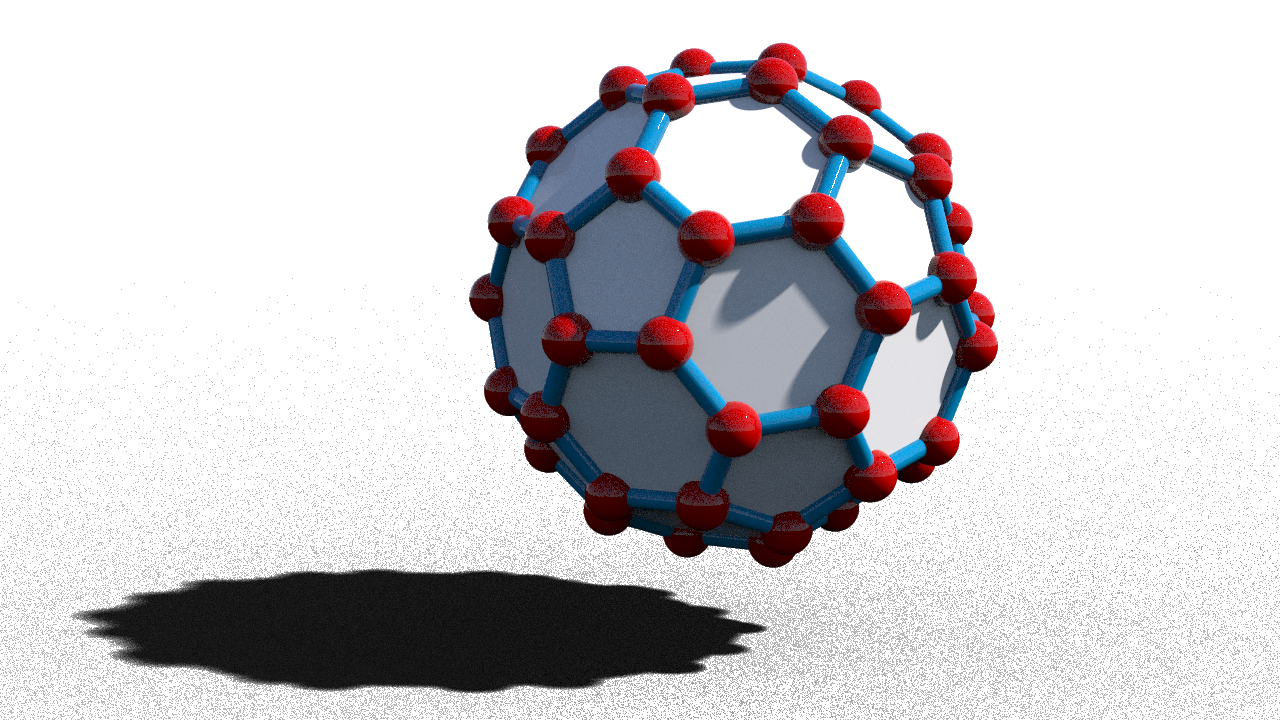
You will notice that the sky light creates a faint shadow that was hardly noticeable against the clay material. This shadow prevents us from perfect blending with the white page, so we turn it off: In the Shadow tab of the Sky Light node we replace the “*” in the Shadow Mask parameter by “ground” (referring to the node we renamed to “ground”).

This means that as far as the sky light is concerned only the ground will cast shadows, not the polyhedron:
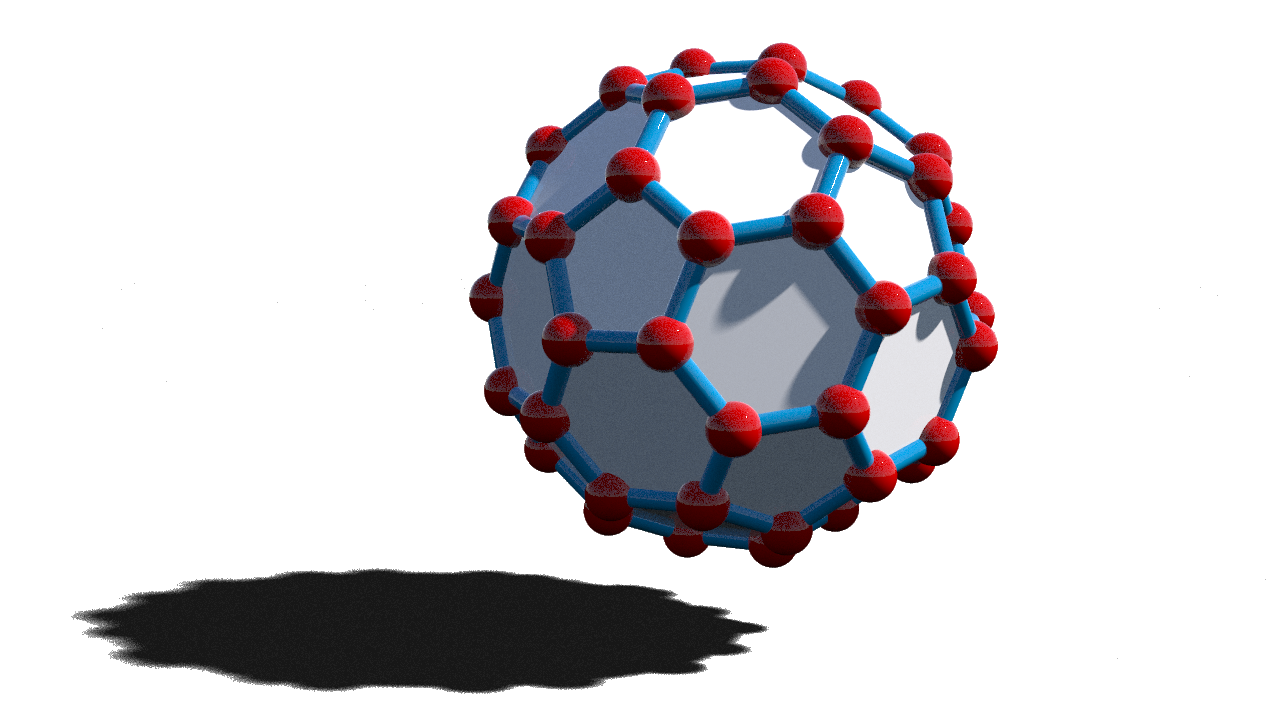
The shadow will look more appealing if we make the faces partially transparent. So let us delete the White Porcelain material from the Geometry node and inside of it replace both Color nodes by Material nodes. Assign the Iron material in both Material nodes. Place a Material node also below the Facet node and make it represent a Mantra Surface material (or glass). In the parameter interface of this Mantra Surface material set the Opacity Scale on the Opacity tab to 0.5. (NOTE: If Matra surface material is not available, use glass).


The result is this:
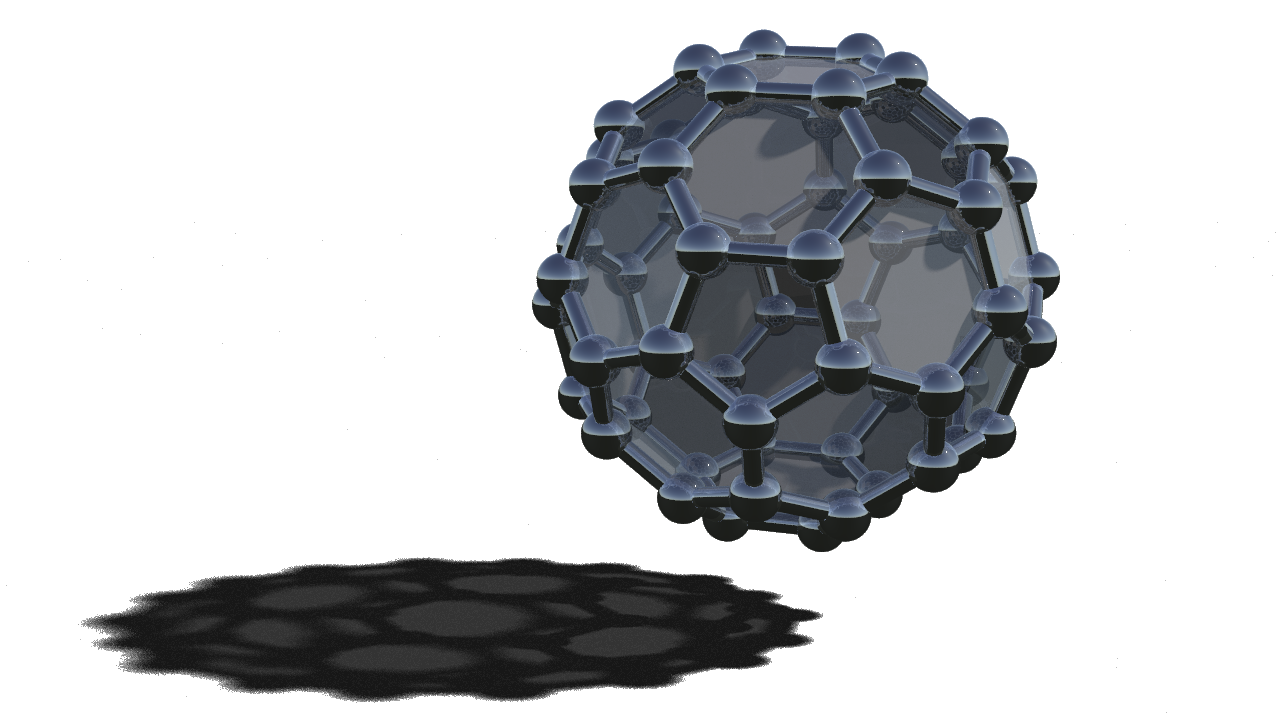
Very often an appropriate use of transparency can substantially increase the amount of information carried by a picture.
written by Pinkall 2016
