Let us talk about digital assets.
Digital assets are a collection of operations stored for reuse. An Asset could be a fully processed piece of geometry or an operator or anything that can be created through a set of nodes. A big part of the graphics industry is the business with assets that you can find online for Houdini or Unity etc… This way you can buy water VFX when you have very special demands or really good looking cars for your demonstration. Need some furniture for a demo inside a living room? You can buy that digitally!
For us assets are an opportunity to store and reuse networks that we have already created. One such example could be a network that take an input geometry and applies the Ball and Stick visual cues. Such a network would be tedious to recreate every time. Another good example would be an asset for the creation of the laplace operator.
Using assets we don’t only reuse already created code but we can also update the asset efficiently. If you tweak the digital asset you can resave the asset and thus overwrite every instance of the asset even in other Houdini projects. This also means that you should be careful when designing your own assets to not break previously working programs.
In this tutorial we will see how to create a digital asset using a very simple example.
Creating a Digital Asset
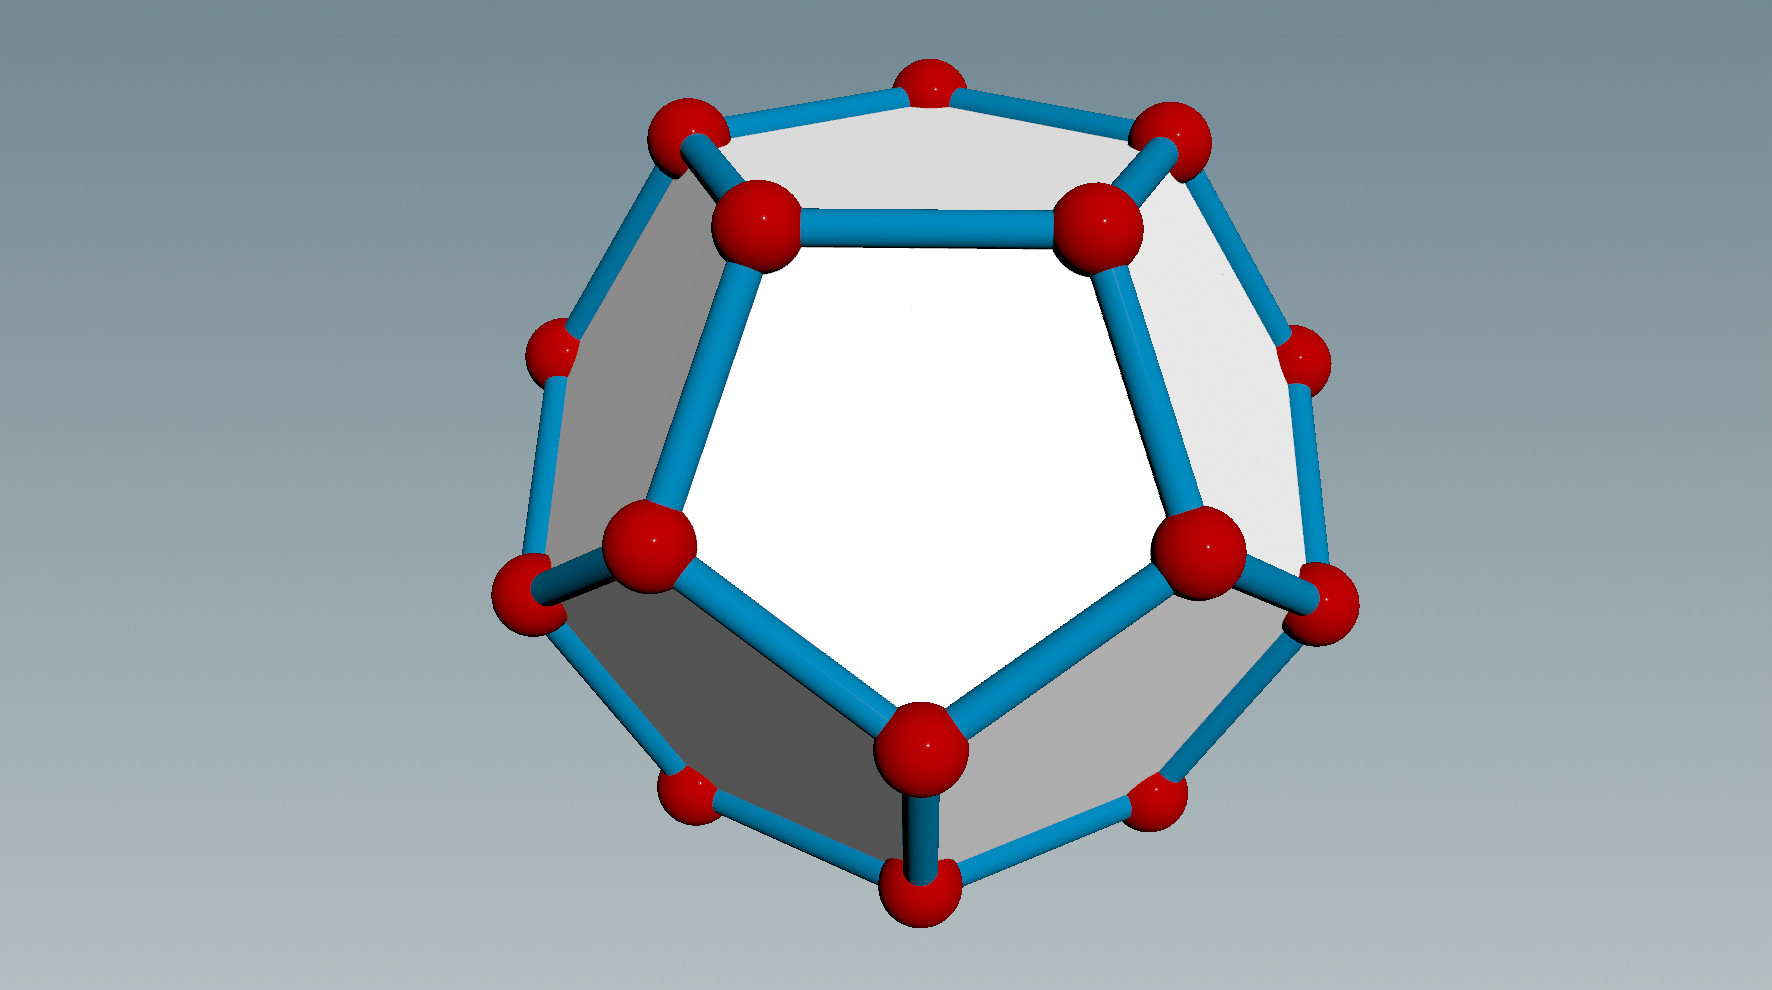
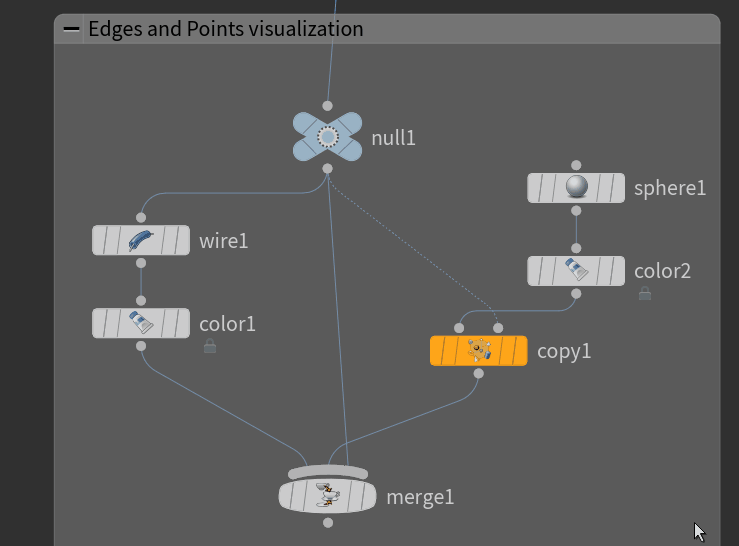
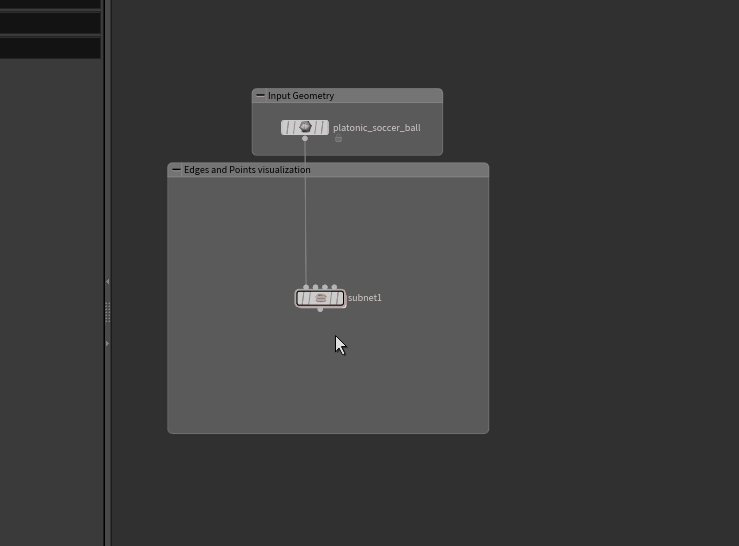
We will create a digital asset to apply the ball and stick visualisation to geometry, meaning that we want to add a colored wire frame and spheres to clearly observe the edges. This network has already been created in the previous tutorial on Visualizing Discrete Geometry with Houdini II. Here we see how it looks like:

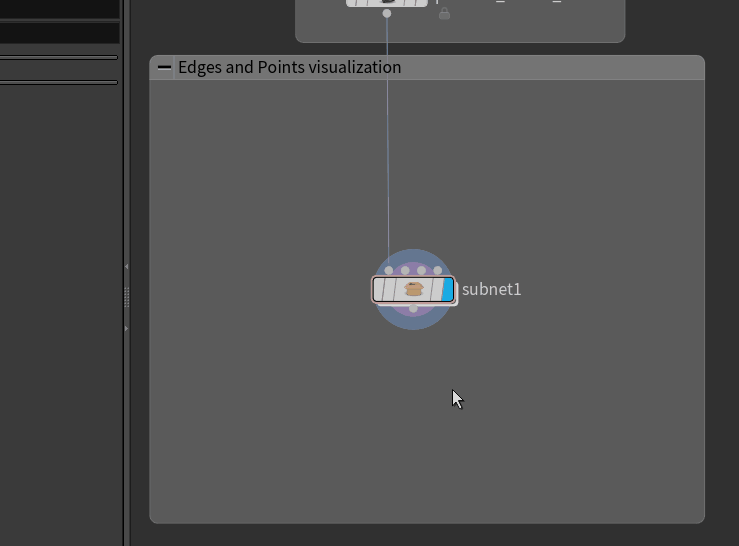
Notice that we added the null node only to avoid the input geometry from having to connect to 3 separate nodes. This allows us to collect the nodes in the Edge and Points visualization into a subnet, which is just a collection of networks to avoid cluttering. The subnet can be created by marking all required nodes and hitting shift+C or by clicking on the cardboard box in the corner of the network view.
Now you can already create your digital asset by simply right clicking on the subnet and selecting Create Digital Asset… . Then you follow the instructions to save the asset.
So now you end up with a .hda (Houdini-Digital-Asset) file wherever you stored it (or .hdanc if using the non-comercial version). We will call the asset Ball_and_Stick. Multiple operators can be store in a single .hda file.

Adding Parameters to Your Digital Asset
You may be happy without having parameters in your digital asset. Theoretically you can import assets and disconnect them from the source so that you have an unconnected independent copy.
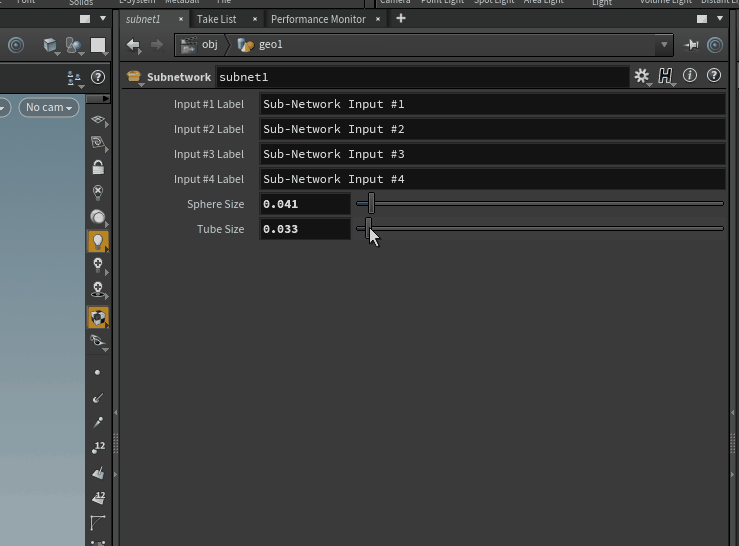
However, all Houdini nodes have some editable parameters and we can add our own parameters to our asset node as well. For example, you may want to adjust the size of the spheres and tubes in the wireframe representation of our example. You could do this by diving into the subnet every time to edit the parameters there but then you would have to unlock the asset for editing which is tedious as explained below under the section Editing Your Asset. Instead, we can add parameters to the asset itself and then have the nodes inside the asset reference them. These parameters will then remain editable from outside.
Here we show what we mean with an example: Before creating the asset we will add two float parameters to the subnet node as seen in the following gif:
Next we dive into the subnet again and reference the parameters where we needed them. Dive into the sphere node and add
ch(“../Sphere_Size”)
to the Uniform Scale parameter of the sphere node.
Now you do the same with “Tube_Size” where you need it and voila: if you save the subnet now as a digital asset you keep the variable parameters.
Using Your Digital Asset
Now that you have a digital asset stored somewhere on your computer you will want to use it in Houdini. We recommend to have a neat library of assets in some folder. In our case we put the asset in the working directory so that the supplement material to this course instantly finds the asset.
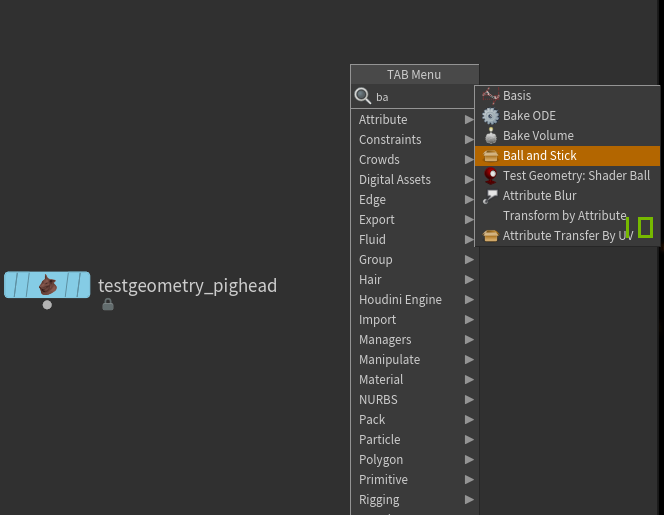
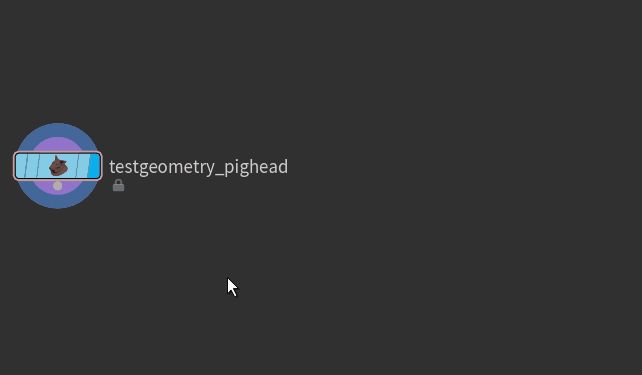
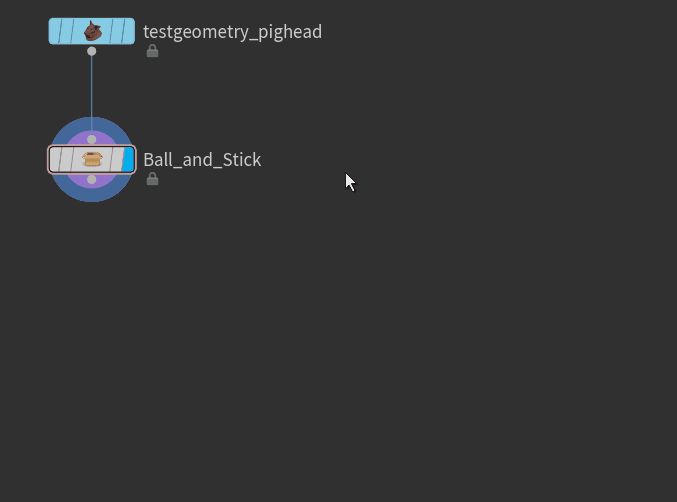
Let us test our previous asset on the basic Houdini pig head test geometry. Inside any Houdini project you can now import the asset by going to File>Import>Houdini Digital Asset and then selecting your .hda file.

After that you can use the Wire Frame node you just created like any other node. You can find and place it as if it belonged inside Houdini.
Editing Your Digital Asset
Imagine now that you have created an asset that fulfills a certain job but now you consider reediting this asset for a different job. For example, we would like to edit the wire frame asset we created above to not display the faces of the mesh.
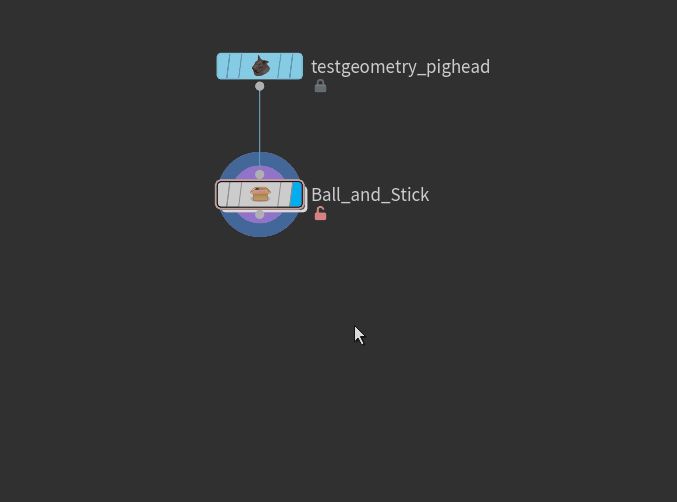
The important message to take home is that a digital asset is meant to stay in sync with its definition. Changing the definition will change it everywhere where it has been imported. This is also why digital assets are locked from editing and have to be unlocked first.

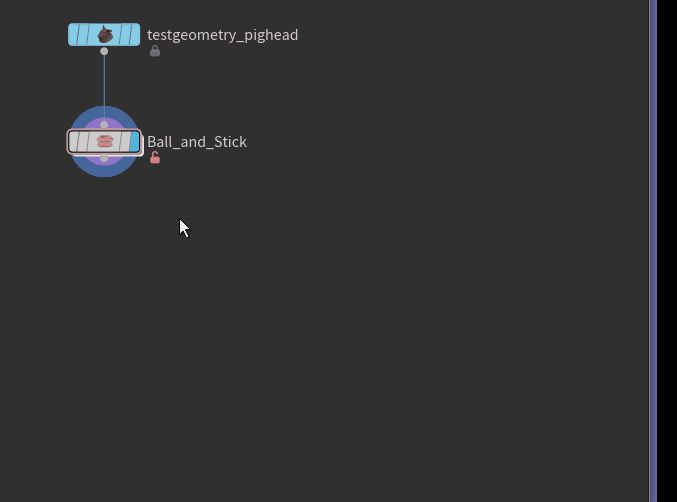
You can unlock any digital asset by right clicking on it and selecting Allow Editing of Content.
Now you can edit the inside of the node. Here we just disconnect the faces from the merge node.
At last, once you have edited the asset to your liking, you can overwrite the digital asset with the new version you just created. To do that just right click on the asset again and hit Save Node Type.
To lock the asset again right click and select Match Current Definition, this command locks the node with the definition found in the .hda file. Match Current Definition can be use to undo all edits to the edited node before saving.
Finished! The great thing is now that every other instance of this asset has been updated too. If you used this example asset somewhere else in another project or even inside your own project, all the faces will be removed as well.
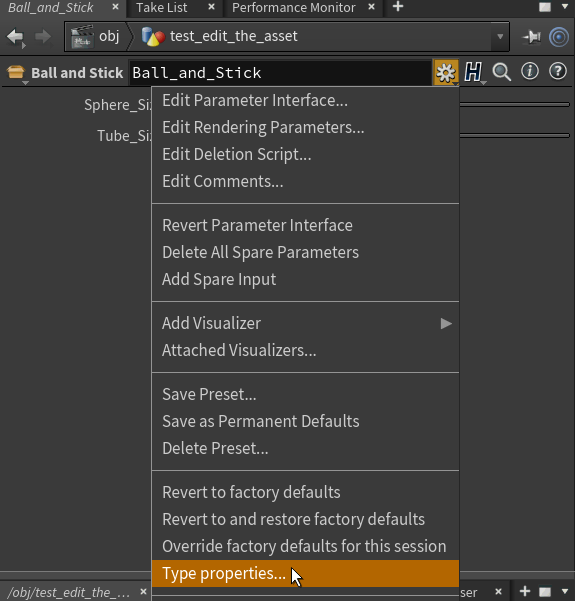
NOTE: Once you convert the subnet into a digital asset you may loose the right to edit, add, remove the parameters (renaming and adding new parameters such as “Sphere_Size” used above) when using the edit parameter interface option as usual. The solution is simple and stupid. Right click on the node or hit the gear symbol again and hit type properties. From there you can now edit everything and even create helper pages, edit and label input and outputs, change icons etc.