Lets assume that you have create some magnificent piece of animation in Houdini. We have learned in the rendering and working with cameras tutorial how to save single images of a render. What do we do if we have a series of images that we want to combine in a single video?
Renderers
Even inside Houdini you can switch the render engine. Examples of other render engines RenderMan, V-Ray, Octane etc…. Different render engines have different techniques and methods that make things like hair look different in each engine. Houdini comes with a built in render engine called Mantra. It is the default engine we have previously used in the render tab and that we will continue to use. As far as we are concerned, the free apprentice version only allows the use of the Matra render on the CPU which is usually not the best choice but more than enough for our use. This means that we render slower than with a licensed version.
Render Set Up
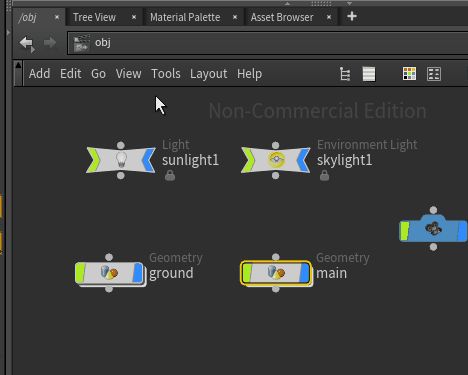
First of all we need a camera (see how to set one up) in the scene that our renderer will reference.

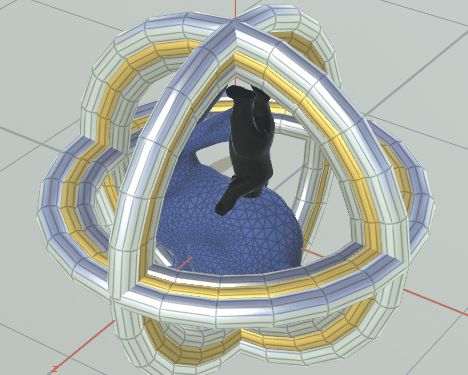
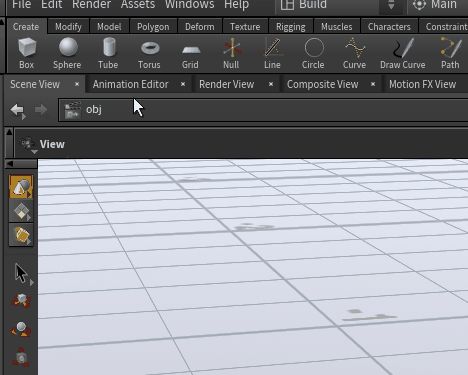
Then we need some animation to reference. Here we chose an example with lots of rotations using the frame number $F inside transformations nodes.
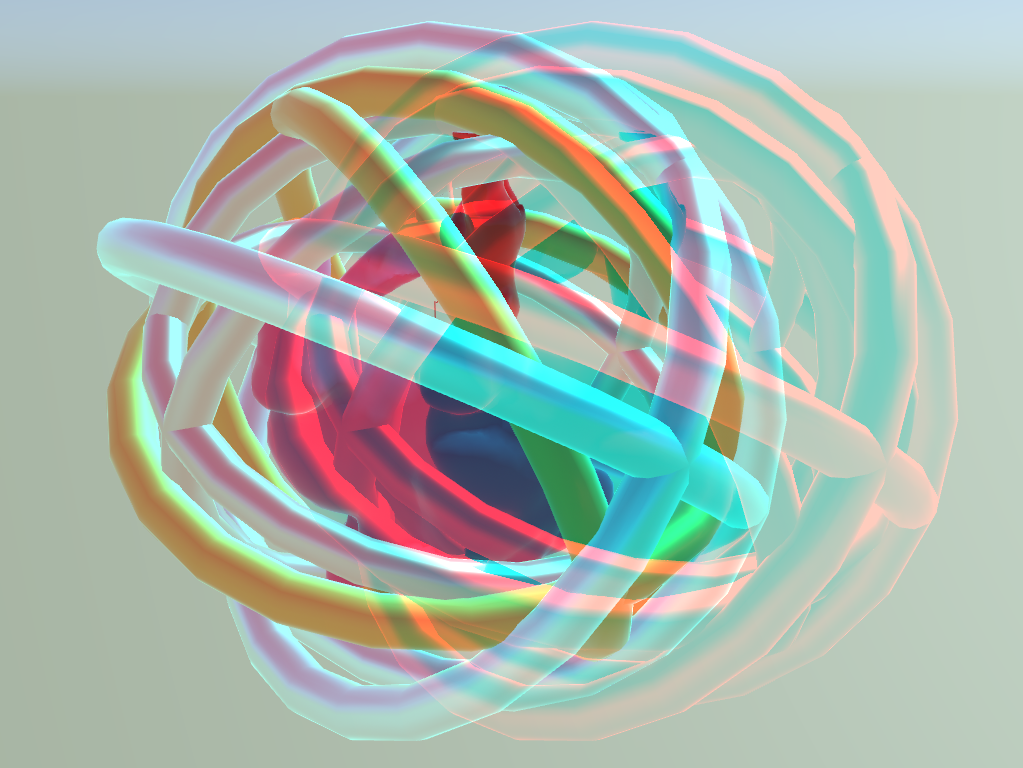
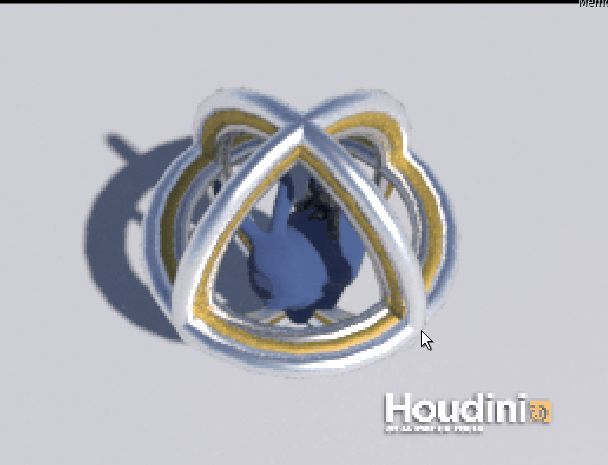
And we want to have some quality like this:

Technically we could export each image on its own and then use an external program to glue them into one video but mortal beings should avoid such time investments wherever they can. Instead, we will prepare the mantra renderer to export the video for us.
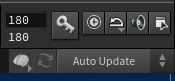
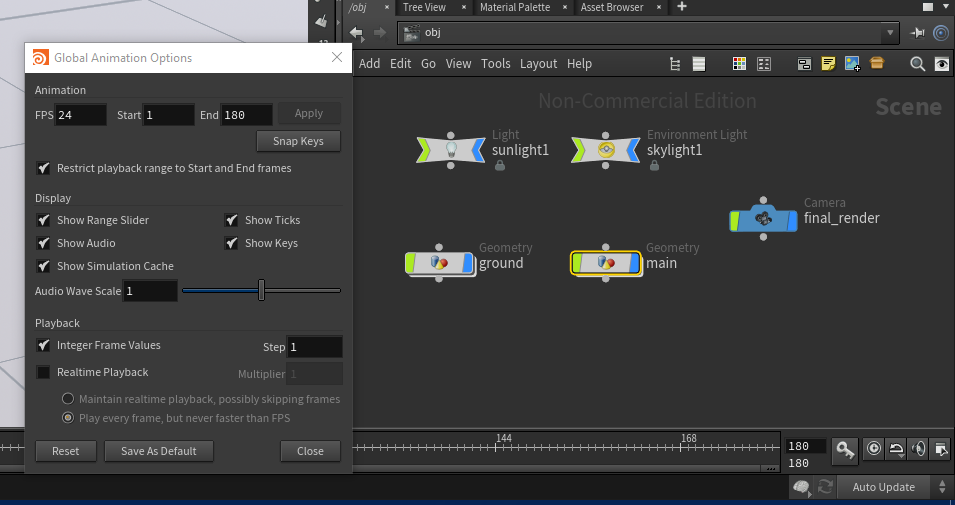
You might want to select how long you animation is supposed to last. You can edit such options in the bottom right corner.
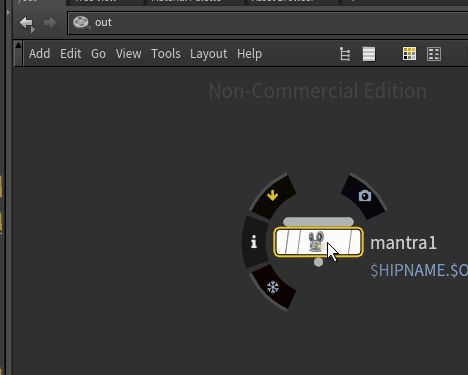
We have to create the mantra renderer node from the top left menu Render > Create Render Node > Mantra.
This however will not create a node in the /obj network view as we are used to. The mantra node will be placed in the output network /out.
Rendering
Now you can edit a million things in the render node options. However, we can view the simple options by clicking on the purple camera at the mantra node. There you can edit the frame range (start, end, increment) and lower the resolution drastically to save more time (I went to 266×200 for this tutorial).
At last you can start rendering. Go to the node option and specify the frame range if necessary and select the camera (If there is only one it is selected by default). Next hit the Render to MPlay at the top of the node parameters or hit Render to Disk. The second one is safer to interruptions.
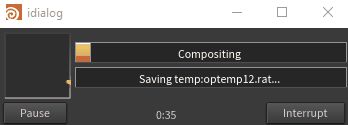
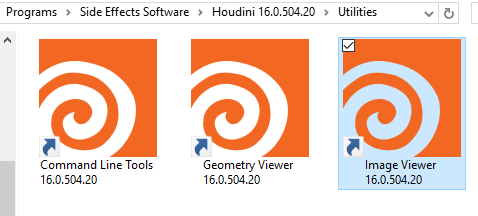
If you chose the Render to MPlay option MPlay will automatically launch. If you chose the Render to Disk option you have to run the Houdini image viewer and dive into the working directory/render to open the frames (the .exr file). The image Viewer should be located in the install directory of Houdini. The up side of render to disk is that you can interrupt and continue the rendering of long videos.
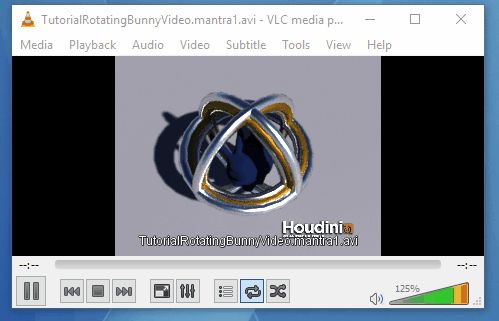
Inside Mplay, go to the top left File menu and select export to video. Specify the location and hit save.
And at last we have our final product:
VR and Stereo Render
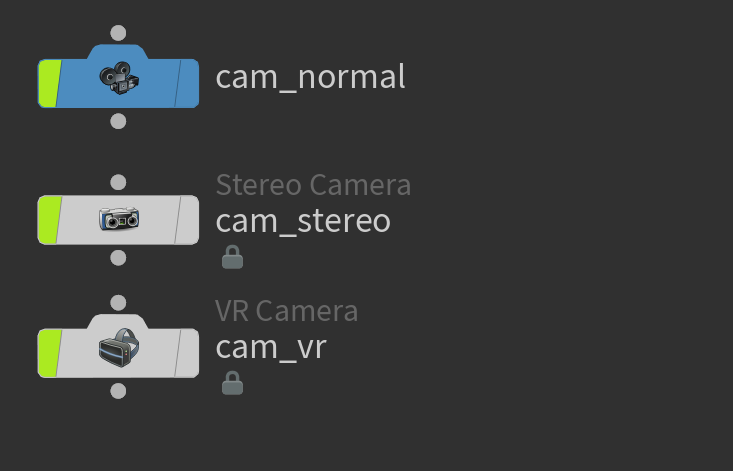
You can also render a 3D VR video by simply replacing the camera node with a vr camera node. You can follow this handy tutorial video to know what to do.
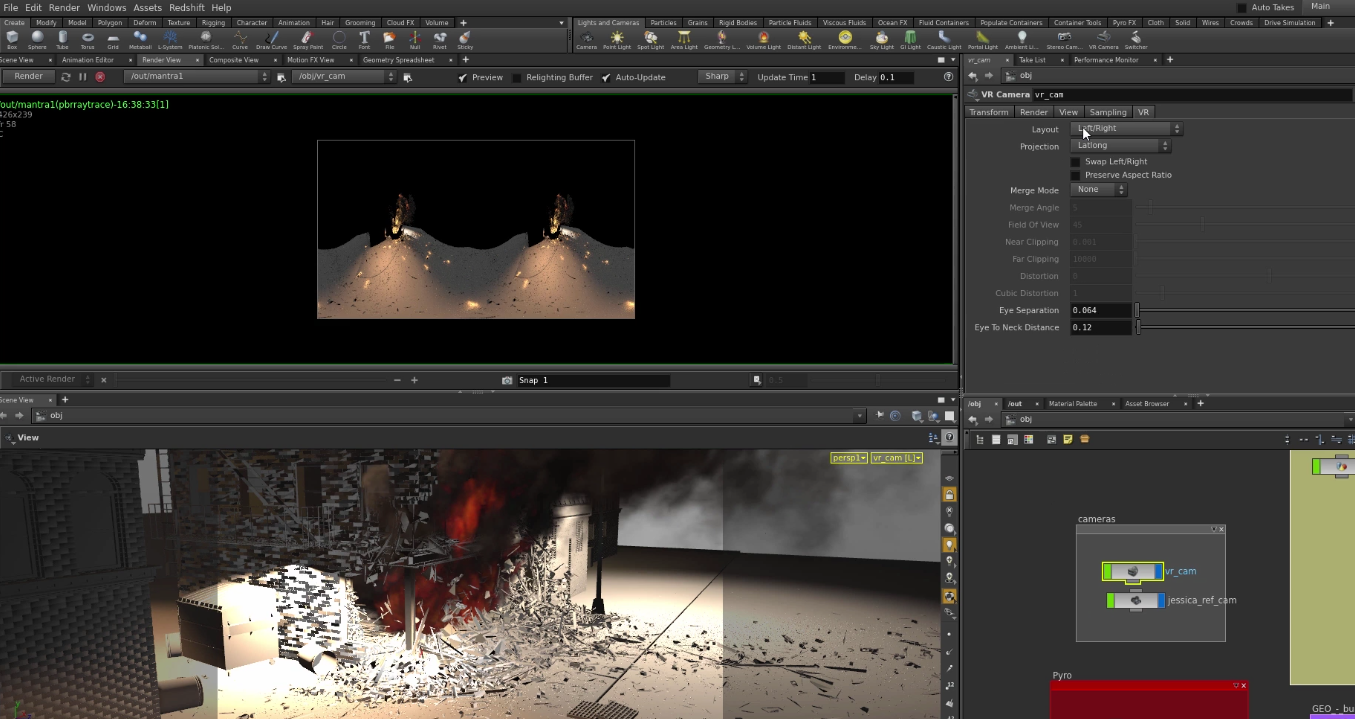
You can also place stereo cameras to render left and right eye for a stereo 3D effect. The stereo cameras can be used for Anaglyph 3D images as explained on the help page.