
Finding Help
Here we point out on important feature of Houdini that you should get used to. Pressing F1 will always open a help display with in detail documentation of how to use Houdini and to understand its functions.
You can also right click on any node to receive information about it’s purpose.
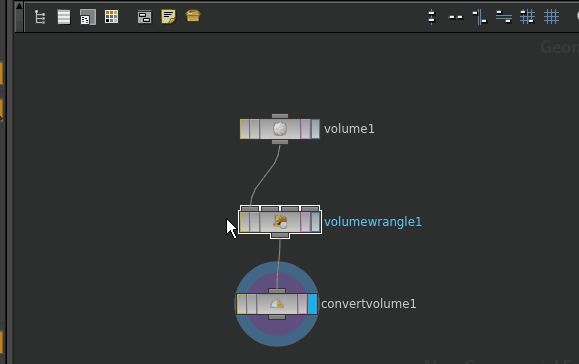
And never forget, especially if a node is marked with a warning red or yellow, that you can use the middle mouse button to read detailed information of a node. This will allow you to spot bugs or VEX code errors.
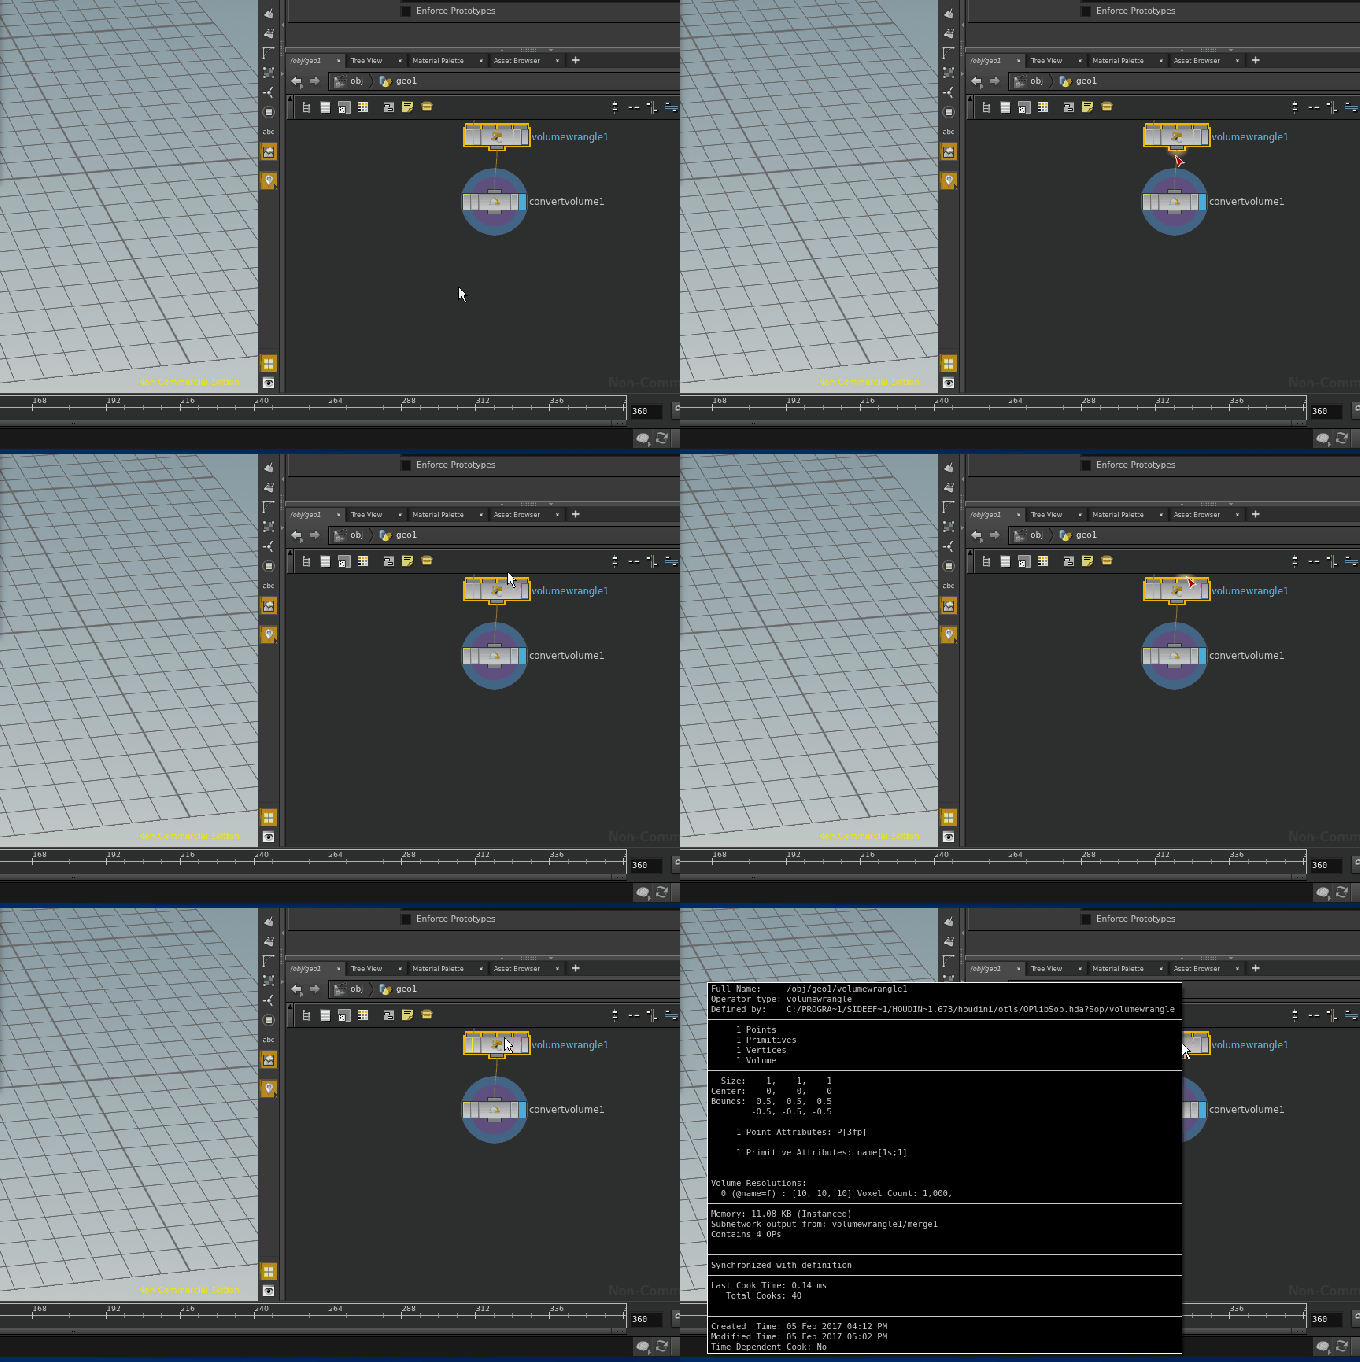
Some node’s help pages contain documented examples that you can instantly load into Houdini to try them out.
Inspecting values
Inside VEX code, the main programming language, you will encounter in Houdini, you can use printf (“%f”, valueName); in order to debug your code. This will open a console window to view the output.
However, if you later learn what attributes are it is much better to just store the values you want to inspect inside an attribute e.g. f@test = valueName; This way you will be able to see many more values inside the geometry spreadsheet. We will learn more about attributes in a later tutorial. The geometry spreadsheet is a special tab that is located by default near the scene view tab. It will allow you to view information carried by every point, vertex, primitive or detail information in the current node.

PLEASE document your code
We very very strongly encourage you to comment and document your code as much as possible. If you don’t care about other people understanding your code then you should at least do it for your future self and to organize your thoughts. Dropping in comments of what you are doing will help you structure your work.
VEX code comments will start with a double slash //. For example, give tags what the following lines are ment to do. Also try to give reasonable names to your variables and nodes. Here is an example:
|
1 2 3 4 5 6 7 8 |
// compute tangent rotation int halfEdge = pointhedge(0,currPoint); int nextPoint = hedge_dstpoint(0,halfEdge); if (nextPoint==-1){break;}// is the end point vector currTan = attrib(0,"point","tangent",currPoint); vector nextTan = attrib(0,"point","tangent",nextPoint); rotaxis = normalize(cross(currTan,nextTan)); rotangle = acos(dot(currTan,nextTan)); |
Group together nodes
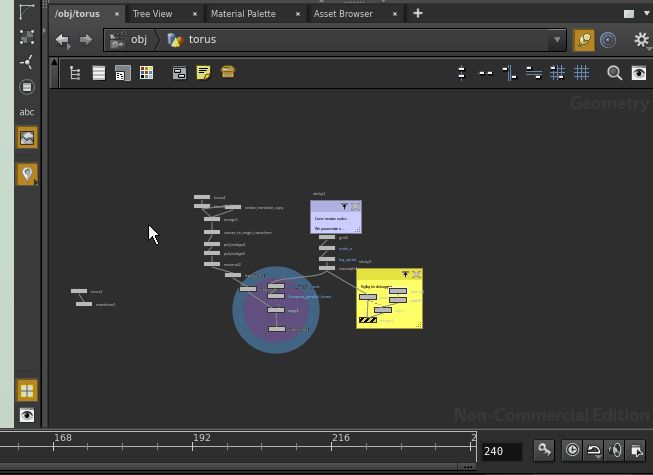
With a little more work your network view will fill up with many nodes. Nevertheless, most of the times nodes can be grouped together to have one common independant purpose. Make a habit of seperating these nodes visually which can be made simple using the nextwork boxes that you can create by hitting shift+ o. Nodes grouped in network boxes can then be named and moved together.

Place sticky notes
You can also place sticky notes inside the network view. Use them when the network of nodes becomes cluttered. You can place sticky notes by pressing ctrl+P and also change colors as seen in the gif below.
About Nodes
Inside the help window you can also find these handy illustrations about the meanings of the nodes. There are Multiple layers of nodes and we will focus on the two first layers. You can create new nodes by hitting the TAB key when focusing on the network view.
The first layer is where we place geometries, lights, cameras etc. The nodes are “object” which is why in Houdini this layer is referenced as the “object layer”. An object looks like this:

The blue marker on the right is very important. It will determine what is to be seen and hidden. More information can be read here: http://www.sidefx.com/docs/houdini/nodes/obj/_index
Inside geometry nodes (the most important node in this course) we will meet so called “surface nodes” used to manipulate geometries.

These can contain many functions.
Vex Code Documentation
Use this link here to find most of the expressions that you may need.
http://www.sidefx.com/docs/houdini/vex/functions/_index.
And never forget…
… that google will answer most of your questions too.
