
In this tutorial we will try to make you familiar with the possibilities that Houdini provides to create task specific geometries using only basic functions.
Imagine trying to crate a metal chain made of individual links as seen in the image below.
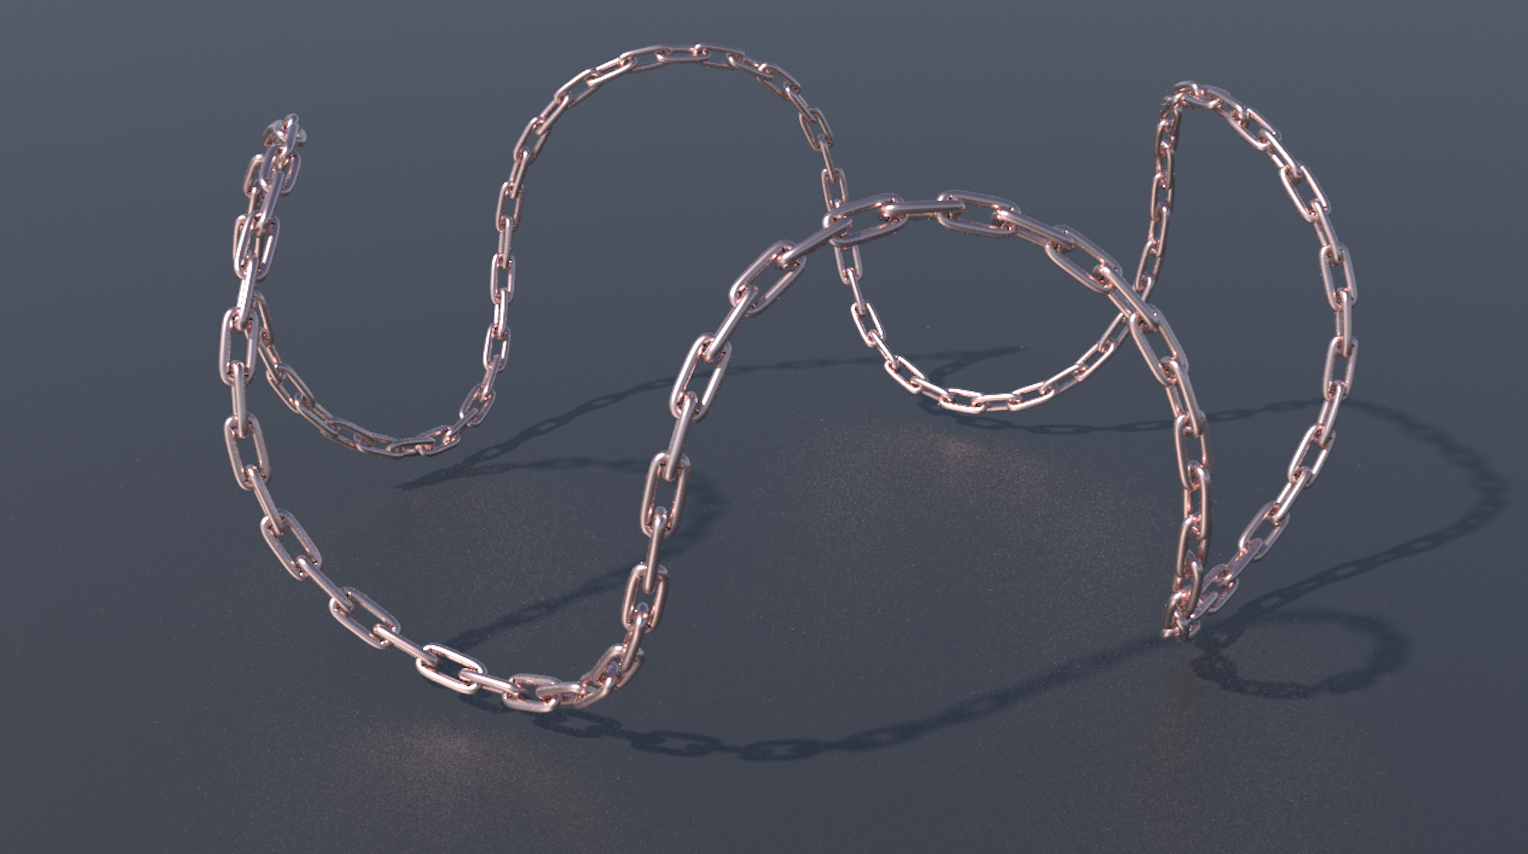
To create such a chain link we would need to create a single chain element. A sort of elongated torus. However, we cannot just scale a torus because that would look different.

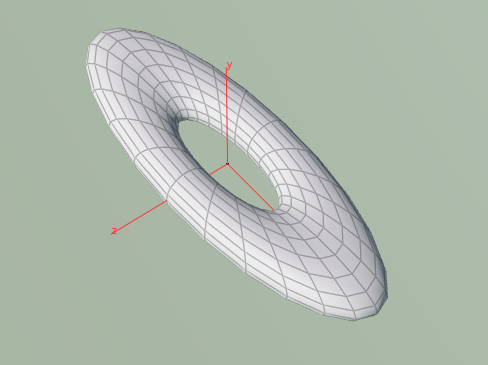
The goal of this tutorial is to now go through the steps needed to create one chain link.
First create a simple Torus node inside your geometry node. Give it the size that you like. We will attempt to merge two half-toruses together with a tube.
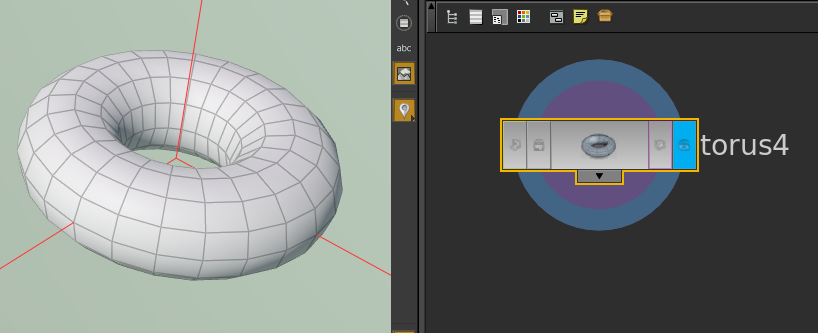
Next we want to use the blast node to delete half of the Torus. This will be the first time that we work with very specific sub-geometry selections. We will mark half of the torus inside the blast node in order to remove it. To do this, select the arrow next to the Group parameter in the blast node and select half the torus.

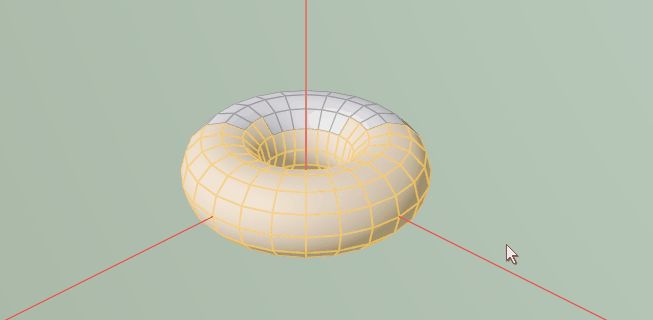
Next we crate a transform node to make a rotated and translated copy of the original half torus and merge both copies together with a merge node. The follow up transform node was made to center the object again after the translations.

Next we want to link together the two half tori we end up having.
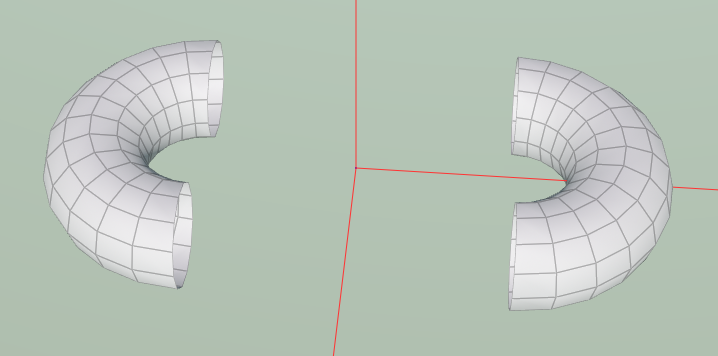
We can do this using the polybridge node. Such a node needs two selections: Source edges and destination edges. For each one we will select a boundary of the half tori. When selecting edges, you can hold the shift key and double click on a boundary edge in order to select the whole boundary that includes the edge. Make sure the edge selector and laser selection mode above the scene view is active.
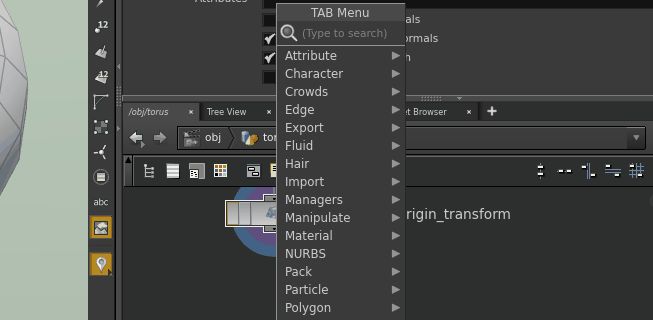
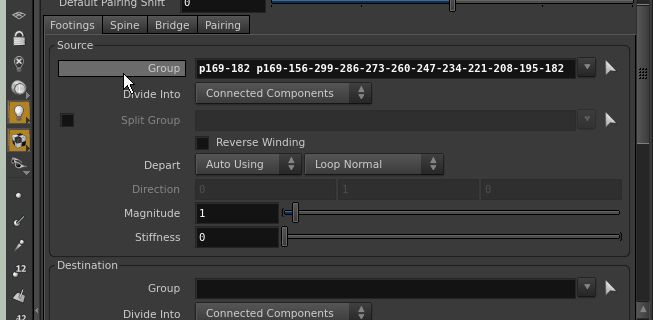
Now we just have to add another polybridge on the other side and apply the aluminum material. To make the chain link look really nice in the render view.

Perhaps this lesson demonstrates well how Houdini is a software that was created to design geometry. Luckily this software is complex enough to implement many algorithms. It is very handy to design and process geometry inside one single software.
