In this Tutorial we will become geometry gods. We will create and animate and destroy geometry at our will. We will also learn how to make cool videos from this 🍌.

Go into the download folder and get the Tutorial 03 folder!
Controlling Time
Time in Houdini is controlled using the time bar at the bottom of your screen. In its settings, you can specify how many frames represent one second. This will be very important for making videos. You then press “play” on the bar to smoothly increase the frame count.
Typical frames per seconds:
- Movies: 25 – 30 FPS. Higher FPS often considered too smooth.
- Video games: 30-60 FPS
- VR applications: 90+ FPS. To avoid nausea.

In your code (inside the Wrangle nodes) Houdini uses the VEX language. In it, you can access time through:
- f@Frame returns the current frame number (integer as float)
- f@Time returns the seconds counter (float)

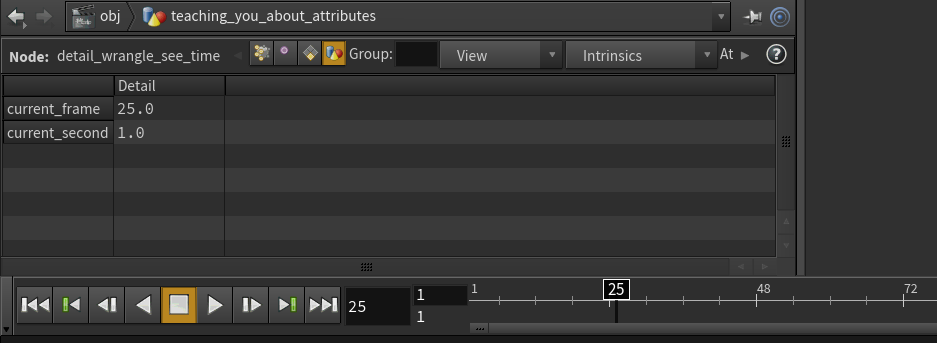
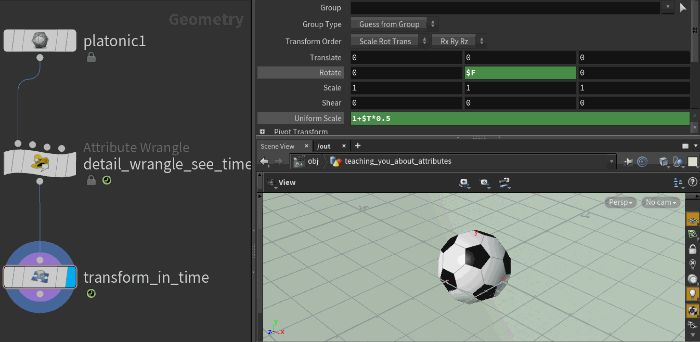
However, when you are typing into the parameter fields of some node, Houdini uses the language Hscript, in which time can be accessed as:
- $F returns the current frame number (integer)
- $T returns the current seconds counter (float)
We recommend:
- Use @Frame, $F when your application depends on iteration counts.
e.g: Iteration solver, manipulating integer input. - Use @Time, $T when your application relates to realism.
e.g: physical motion, physical parameters.
Solving this Life’s Misteries
The previous section only taught you how to read time in your code. What comes next will actually be much more important. The solver node is the go-to node if you want repeat operations on previous output.
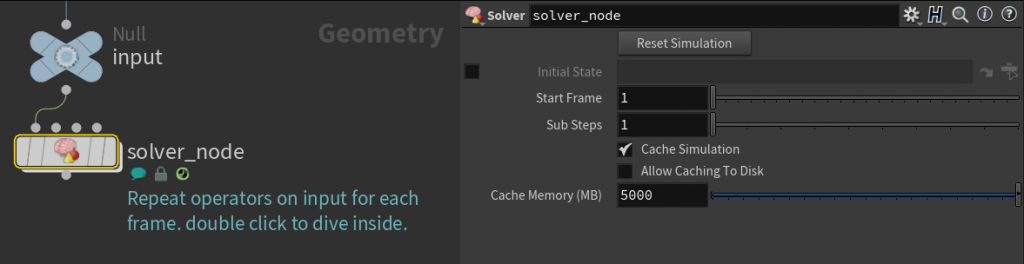
The inside of a solver node can look like this:
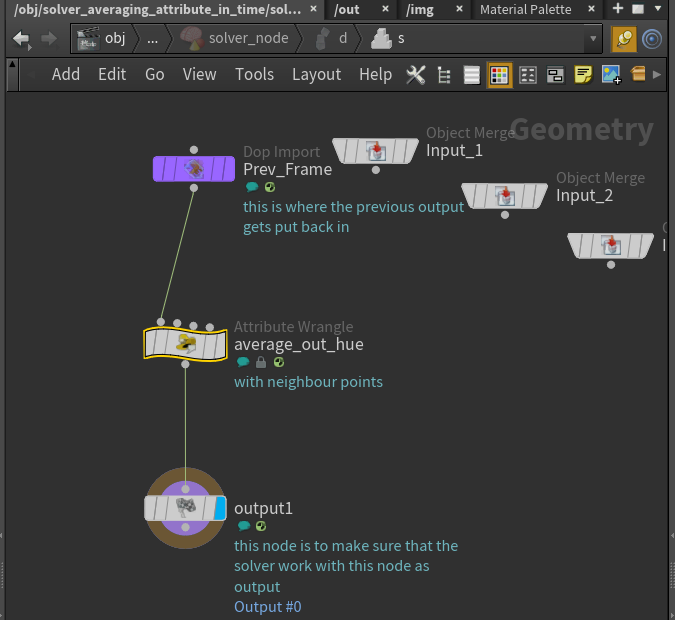
The Prev_Fram node takes the output of the solver node and feeds it back into the solver.
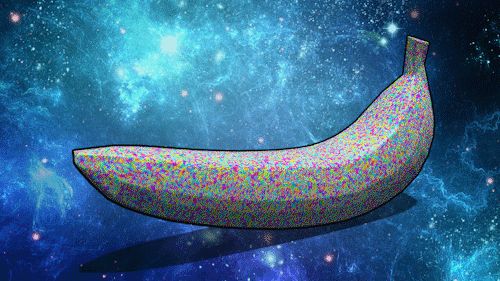
The above screenshot of a solver node does the following: Given a banana with large random hue values to it, we average out the hue value at each point with its neighbors. Repeat at every frame. The result will look like this:
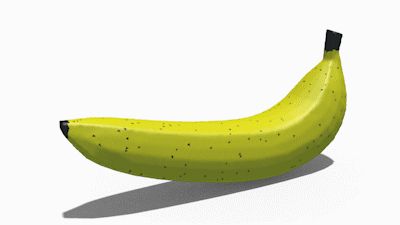
We can also run a random walk on the banana, darkening every triangle we meet on the path. We can use that for a rotting effect.
Large Render Tasks
We have learned that for single image rendering it is enough to right-click on the render view and “save frame” as a .png. For large render tasks, we will now learn how to use render nodes.
Your network view can also show you the outputs. Click on the address bar on top and switch to the out view like in the image below.
In this view, you can place mantra nodes. Mantra is the name of the renderer used by Houdini. Click on it to access many render options.

The most important settings for you are the following.
- Render to Disk in Background: Save the file before clicking this. This is great for executing large render tasks while working on something else. Use the Render Scheduler tab to cancel render tasks.
- Valid Frame Range, Start/End/Increment: Specify what frames to render.
- Camera: Choose the camera in your scene being used.
- Override Camera Resolution: Good for much faster rendering. Use resolutions as small as possible for testing.
- Output Picture: Specify where the files lands. Please us .png here. \$HIP is your working directory, \$OS is the name of your mantra node, \$F4 enumerates the frames by 0001, 0002, … etc.
- Rendering: Here you can specify ray tracing options. This could help for faster rendering.

The output will be a sequence of images. The raw material to create videos.

You can then use these images in your favorite video editing program. Import, edit, export.

EXERCISE 1:
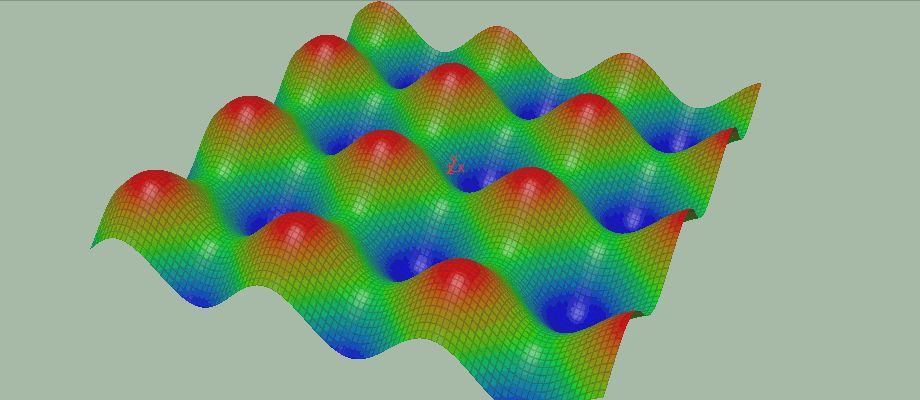
Recreate the following using @Time (choose any coloring):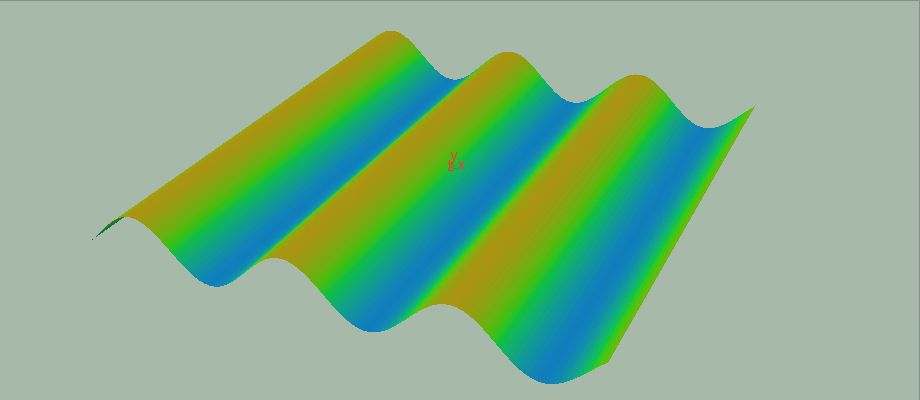
EXERCISE 2:
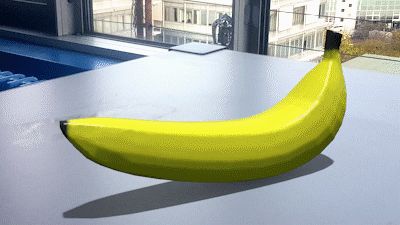
Recreate this: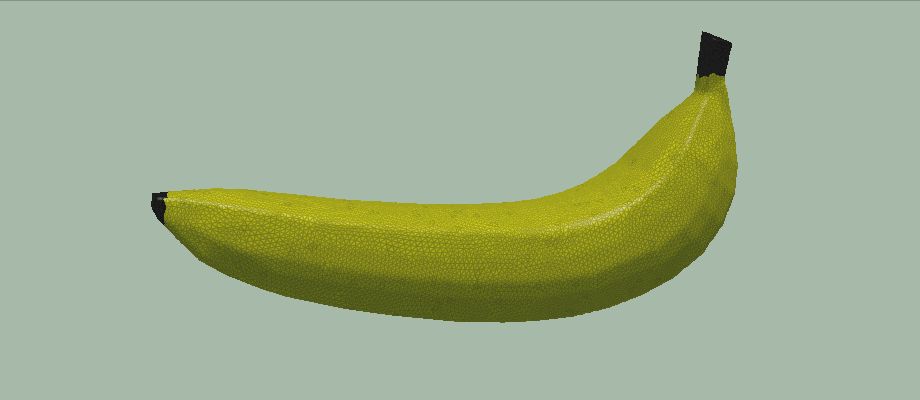 hint: black regions grow. Use the previous code as well.
EXERCISE 3:
Render a video.
